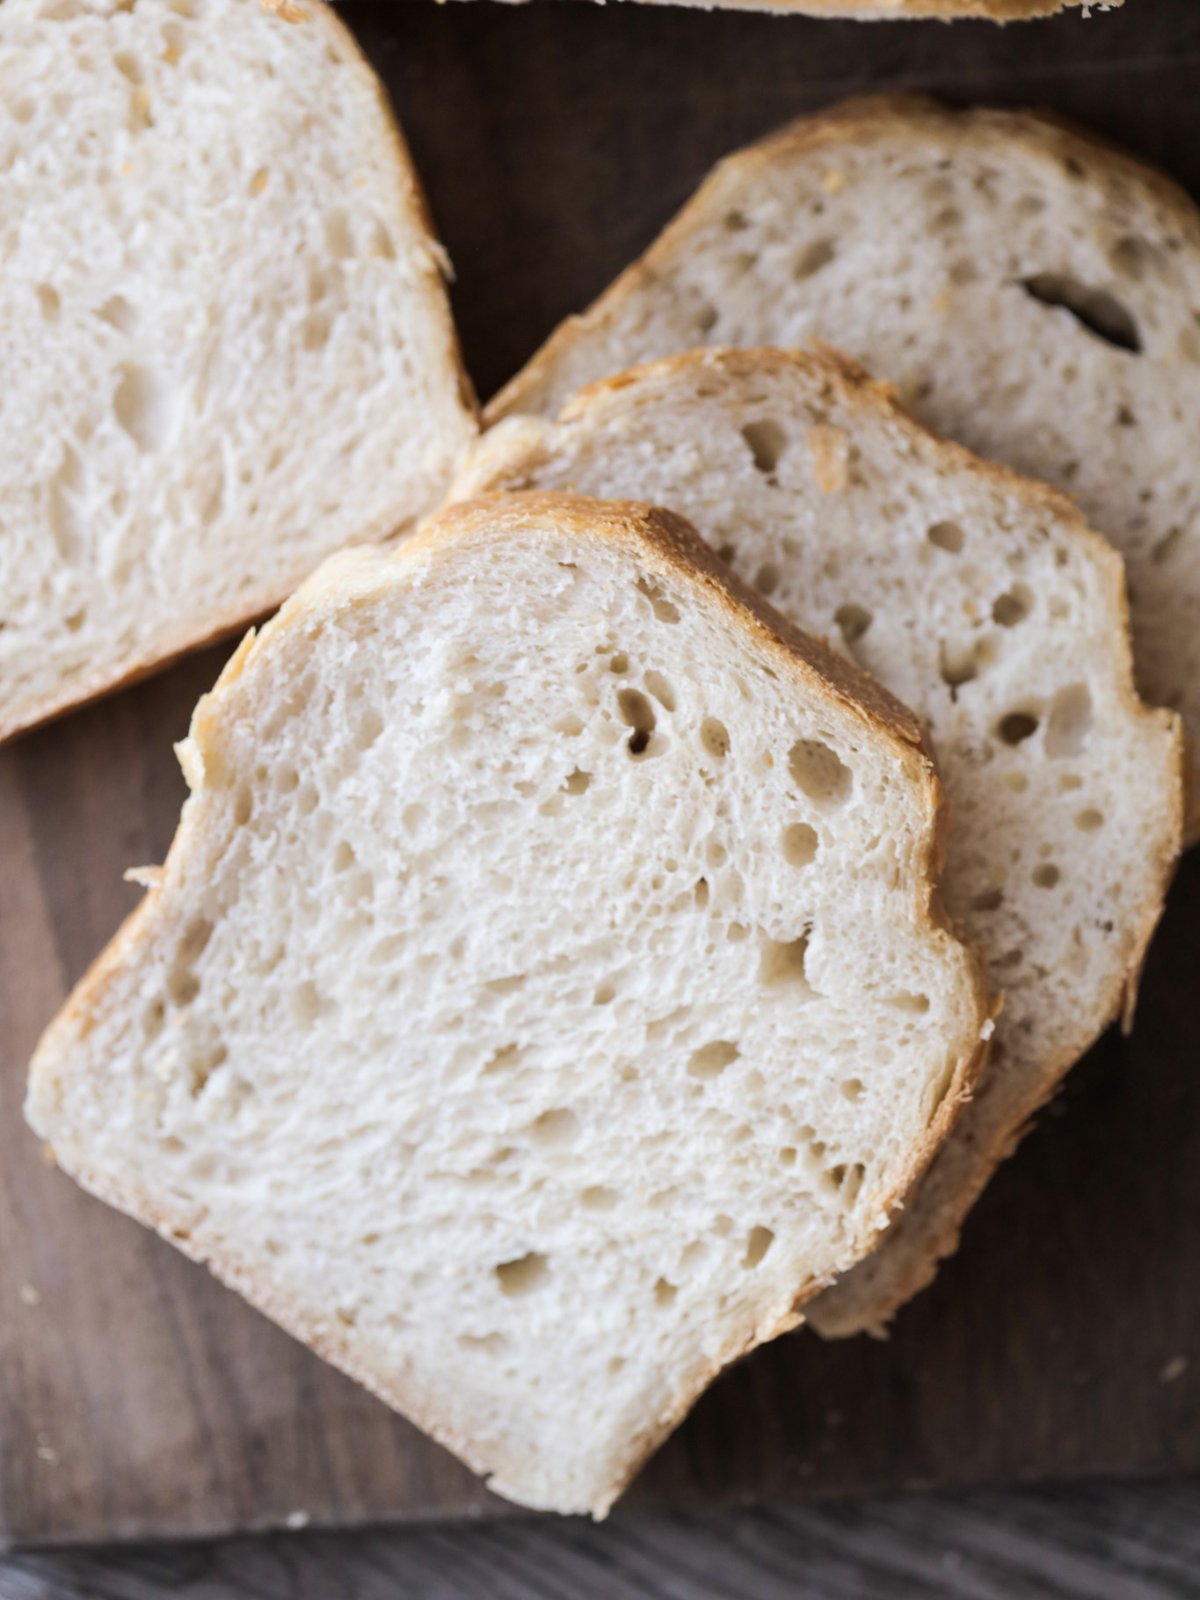
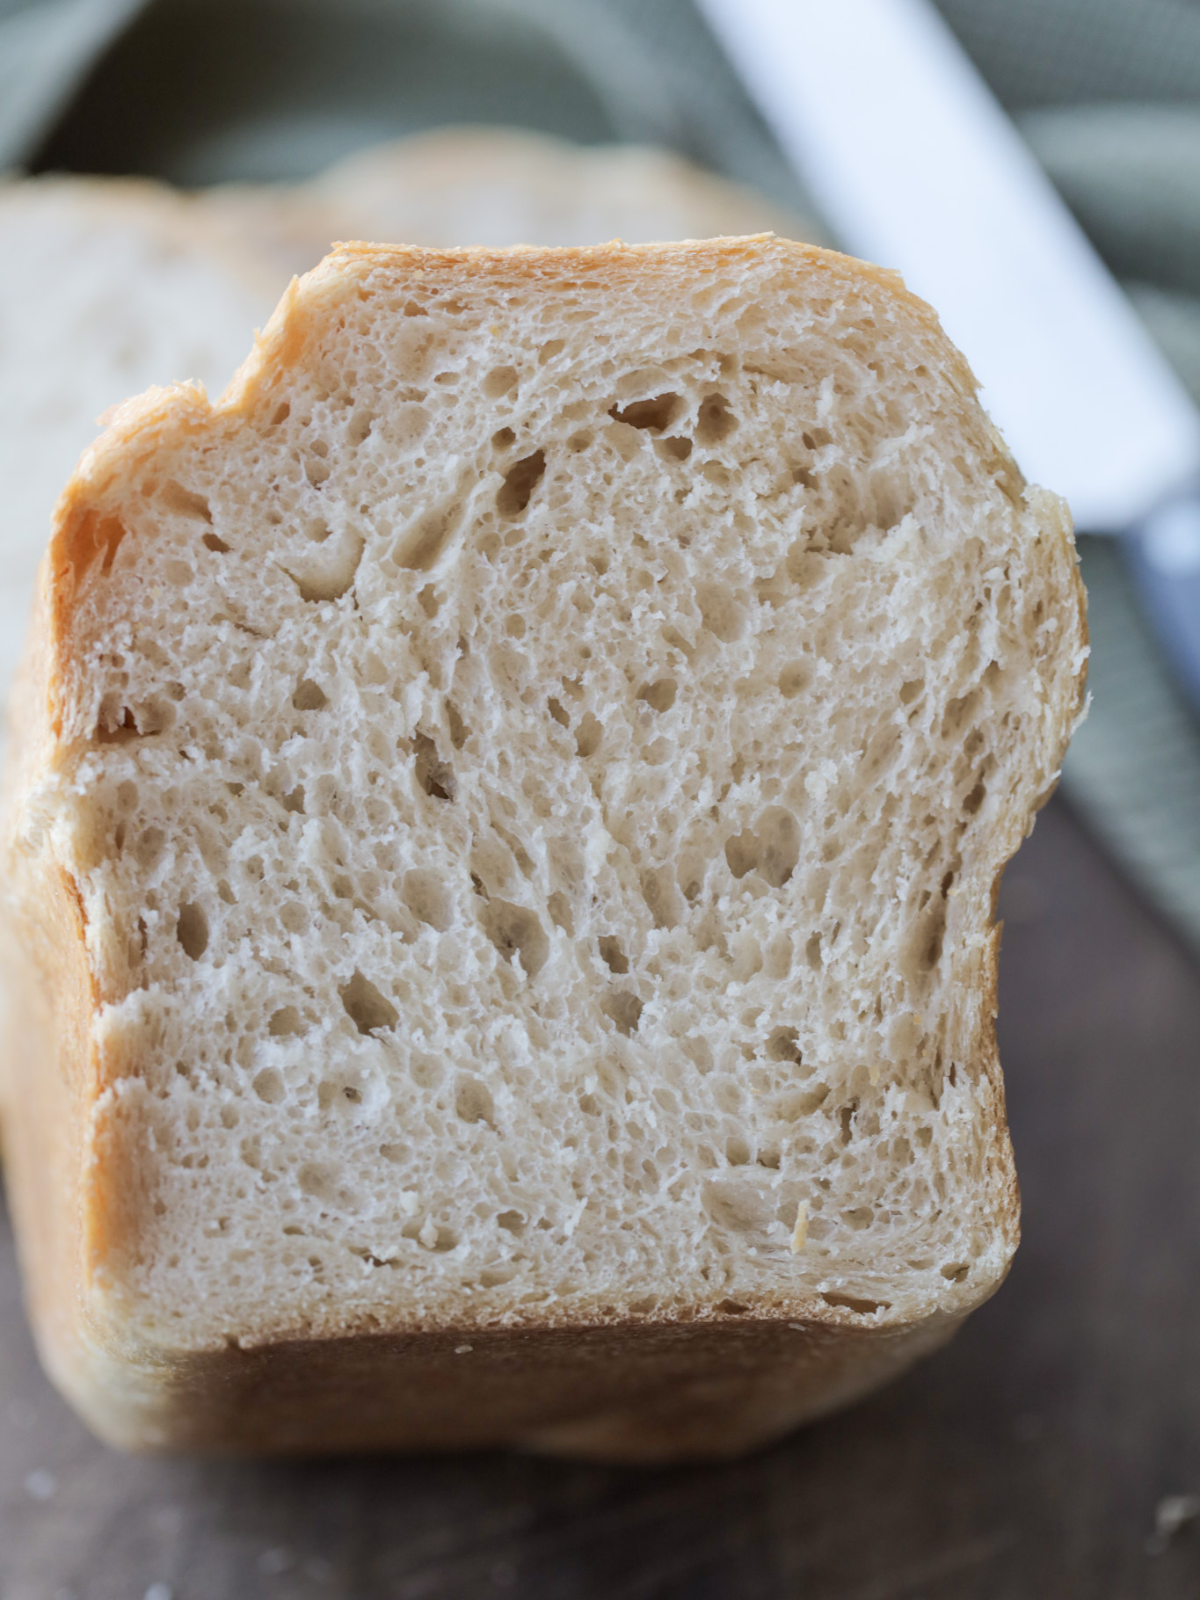
Soft Sourdough Sandwich Bread (Simple Hands-Off Recipe!)
As an Amazon Associate, I earn from qualifying purchases.
This sourdough sandwich bread recipe has been my go-to recipe for years. It’s easy to make, you’ll just need two loaf pans–and it makes more sense for me as a busy mom who prepares lots of lunches for my kids! If you want to make sourdough bread but don’t have a Dutch oven, this one is for you!
I’m gonna let you in on a little secret. I’ve made this bread so many times that I feel like it’s impossible to mess it up. Like, the recipe instructions below will tell you to knead the dough in a stand mixer or with your hands (and this will provide the BEST structure for your bread).
But, there have been many a time when I have mixed all these ingredients together by hand for a minute, covered it, and let it bulk ferment before shaping and baking, and guess what?! It turned out lovely still.
So please, please, please don’t get yourself stressed out over something as simple as bread. You can’t mess it up. Our ancestors didn’t measure ingredients. They didn’t painstakingly hover over their sourdough starter waiting for the *exact* right moment it would be ready to use. Let’s not complicate things! 🙂
So with that, let’s get into this recipe. It is fantastic for busy parents who just want to make their family a nice sandwich.
Looking for more sourdough recipes? Check these out!
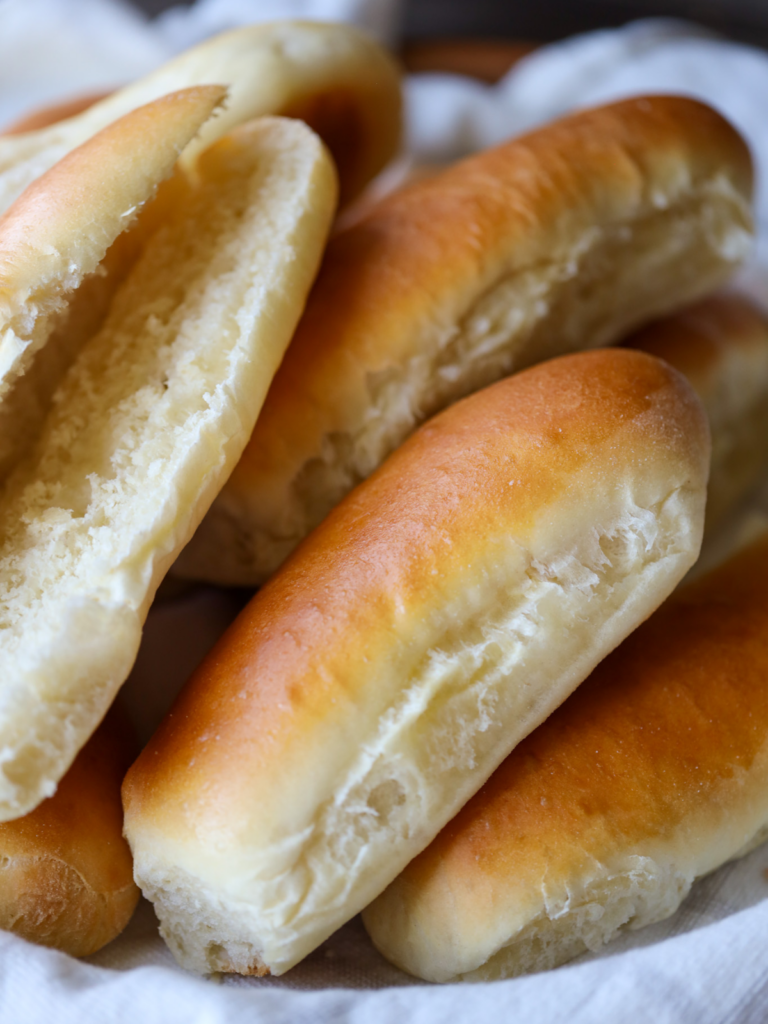
This recipe uses the same exact dough as my sourdough French bread and my sourdough pizza dough, so make sure to check those recipes out too! Looking for a combination of pizza and bread? Check out this cheesy pepperoni sourdough pull-apart bread recipe!
Step-By-Step Instructions
Add the sourdough starter, water, olive oil, honey, bread flour, and salt to the bowl of a stand mixer fitted with a dough hook. Mix on low speed until a shaggy dough forms, scraping down the sides of the bowl as needed.
Increase the mixer speed to medium-high and knead for about 10 minutes, until the dough becomes smooth, elastic, and pulls away from the sides of the bowl.
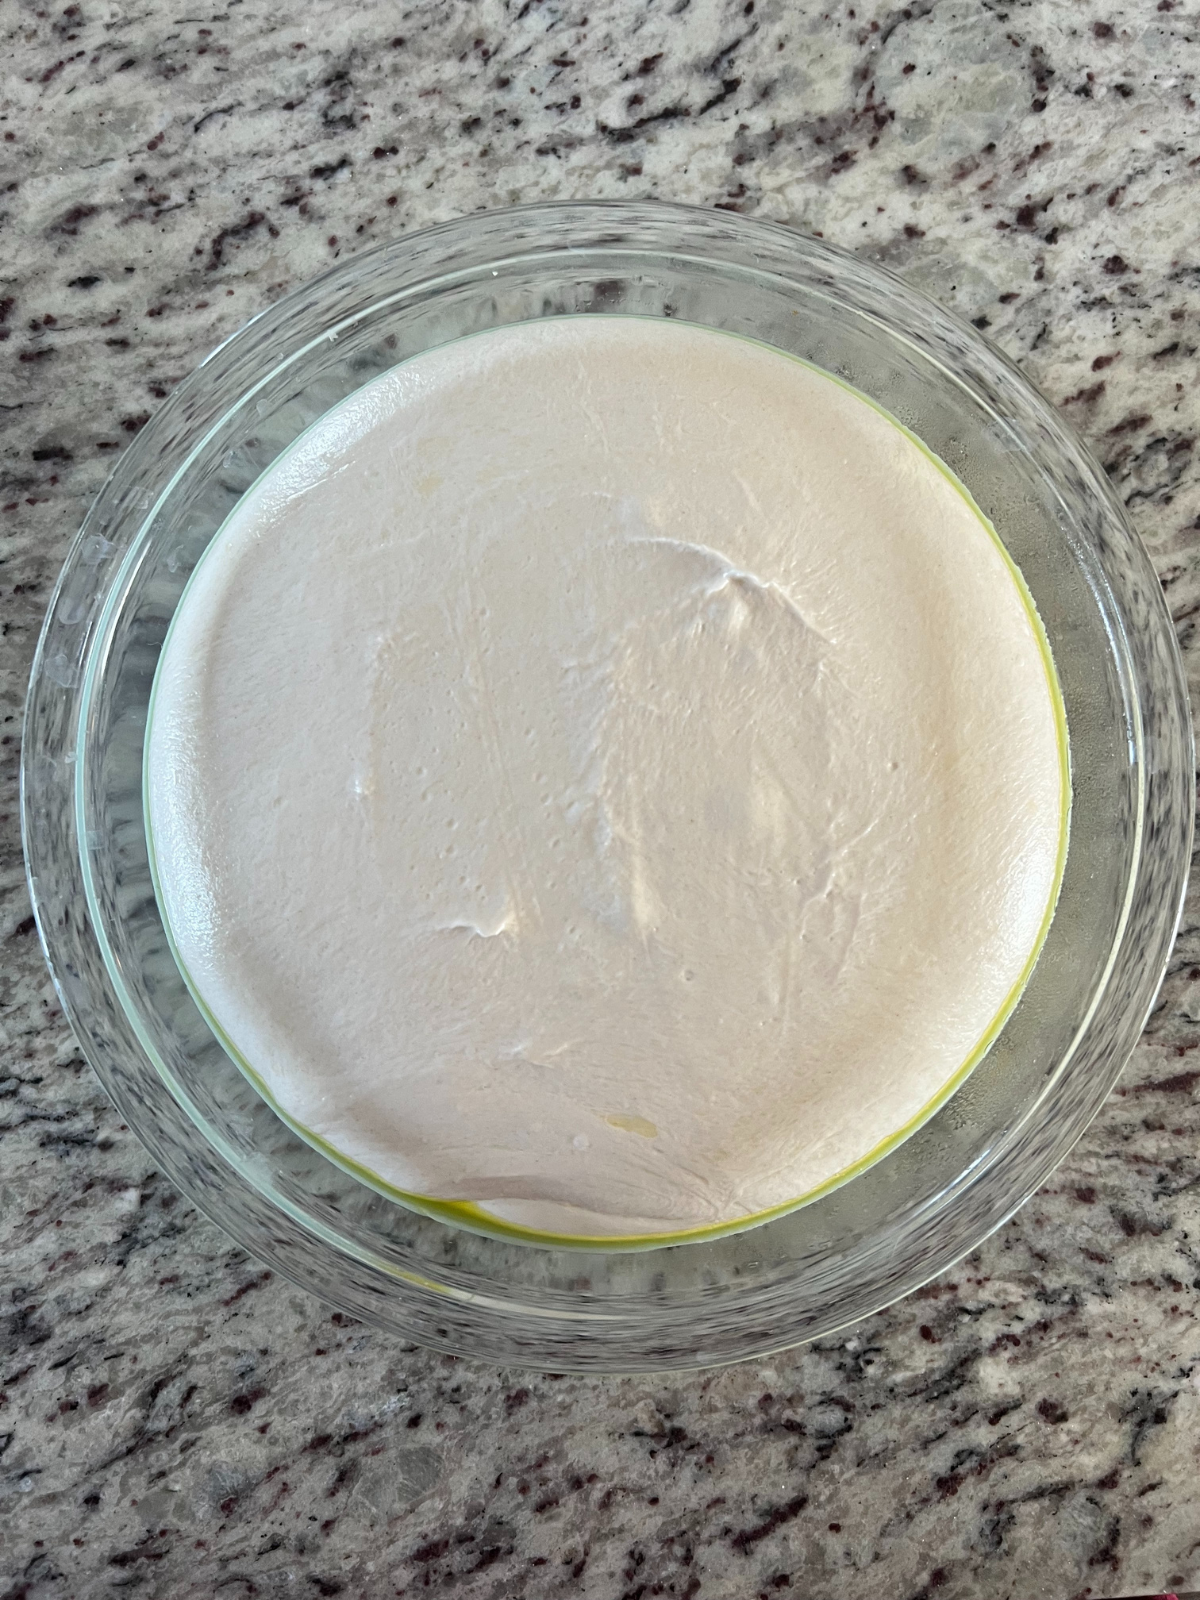
Transfer the dough to a lightly greased bowl. Cover with plastic wrap or a clean towel and allow it to bulk ferment at room temperature for 6-10 hours, or until doubled in size. (In a ~68°F kitchen, this typically takes closer to 10 hours.)
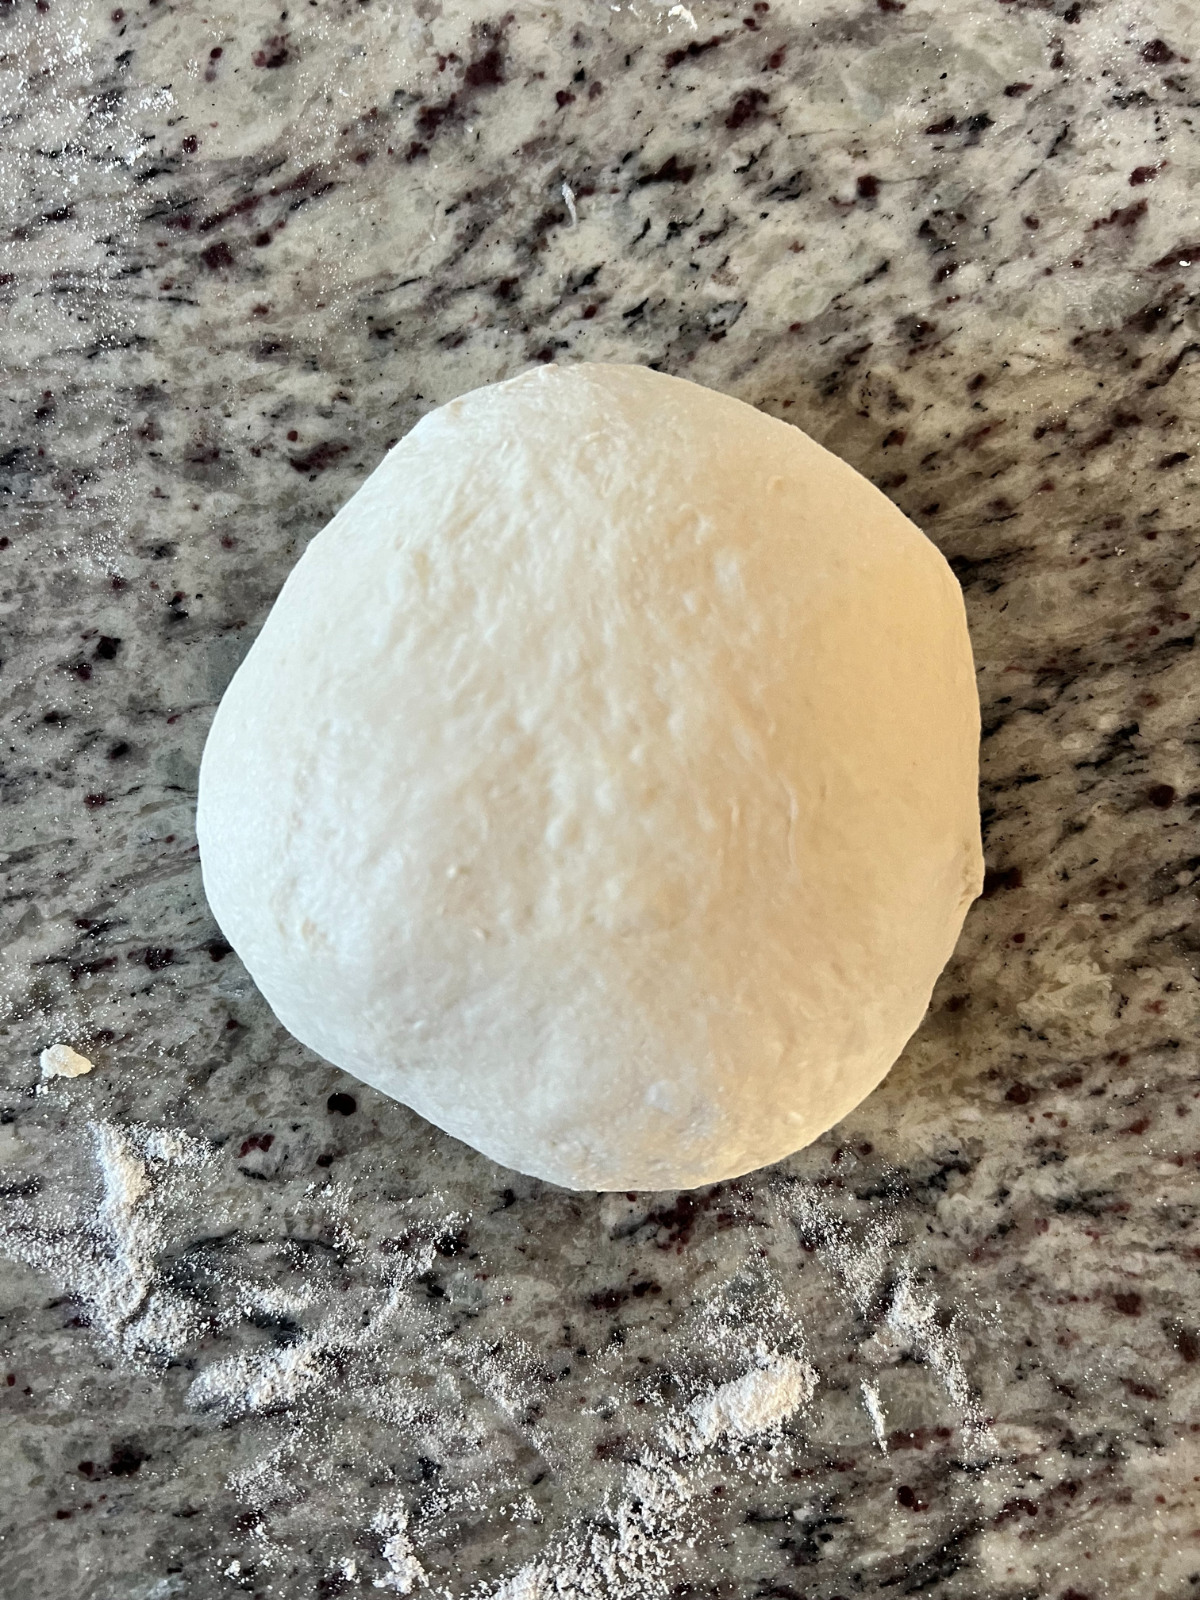
Once doubled, gently turn the dough out onto a clean work surface. Lightly dust the top with rice flour and use your hands to shape the dough into a loose ball by pushing it away from you and pulling it back toward the center.
Cover the dough and let it rest for 15–30 minutes to relax the gluten before final shaping.
Flip the dough seam-side up and gently stretch it into a rectangle. Roll the dough tightly from the short side into a log, tucking the sides underneath as you go. Pull the dough toward you to create surface tension.
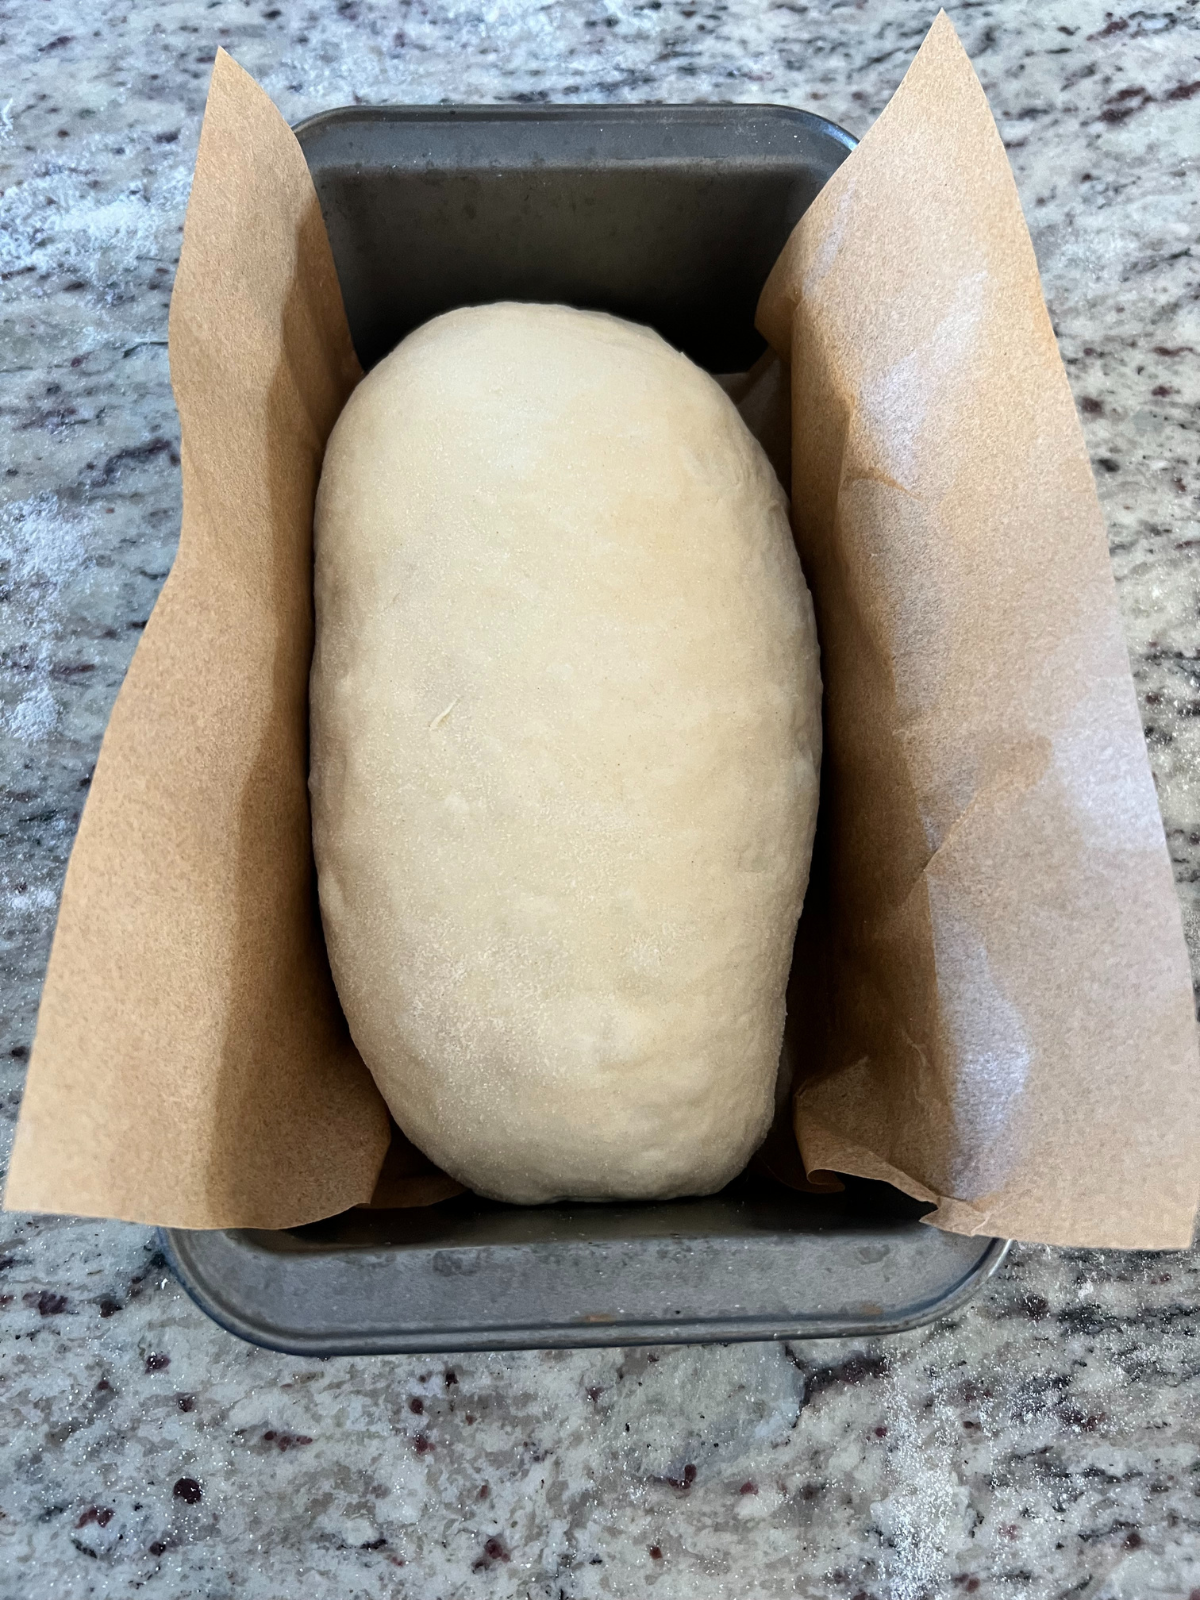
Place the shaped loaf into a parchment-lined or greased loaf pan.
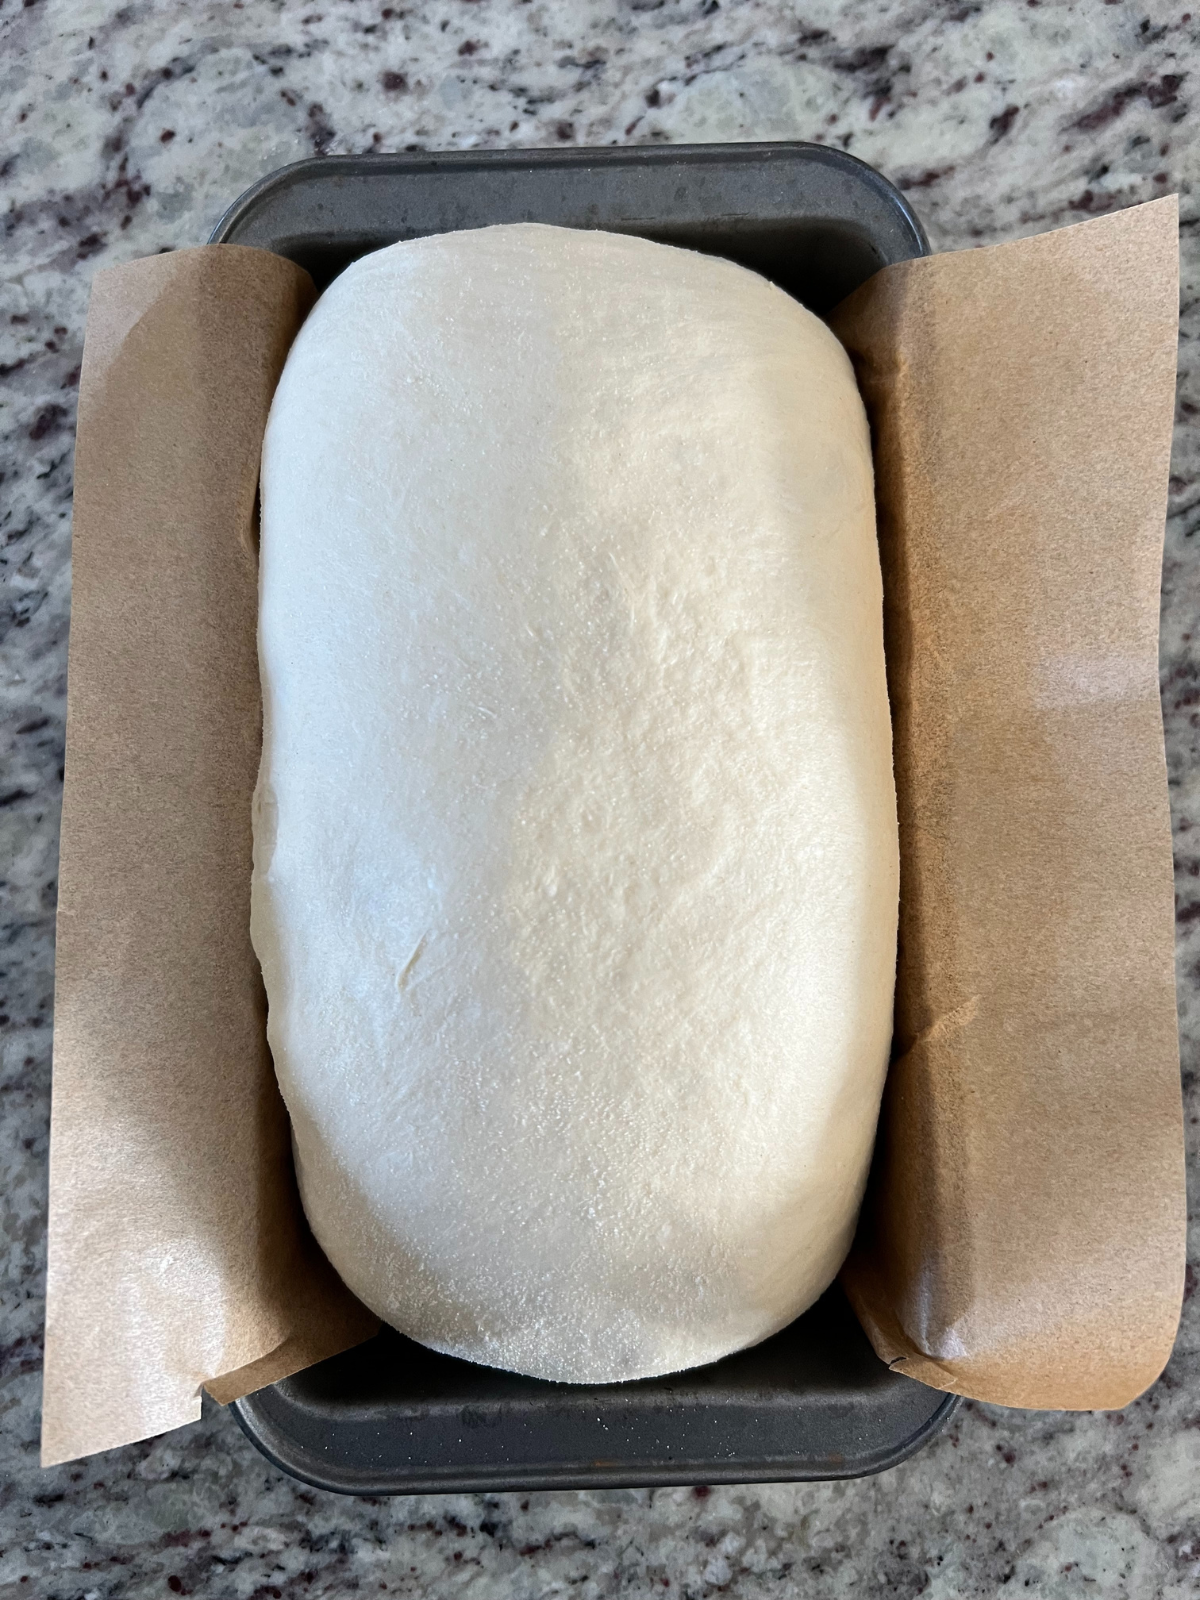
Cover and let rise for about 2 hours, or until the dough domes about 1 inch above the rim of the pan.
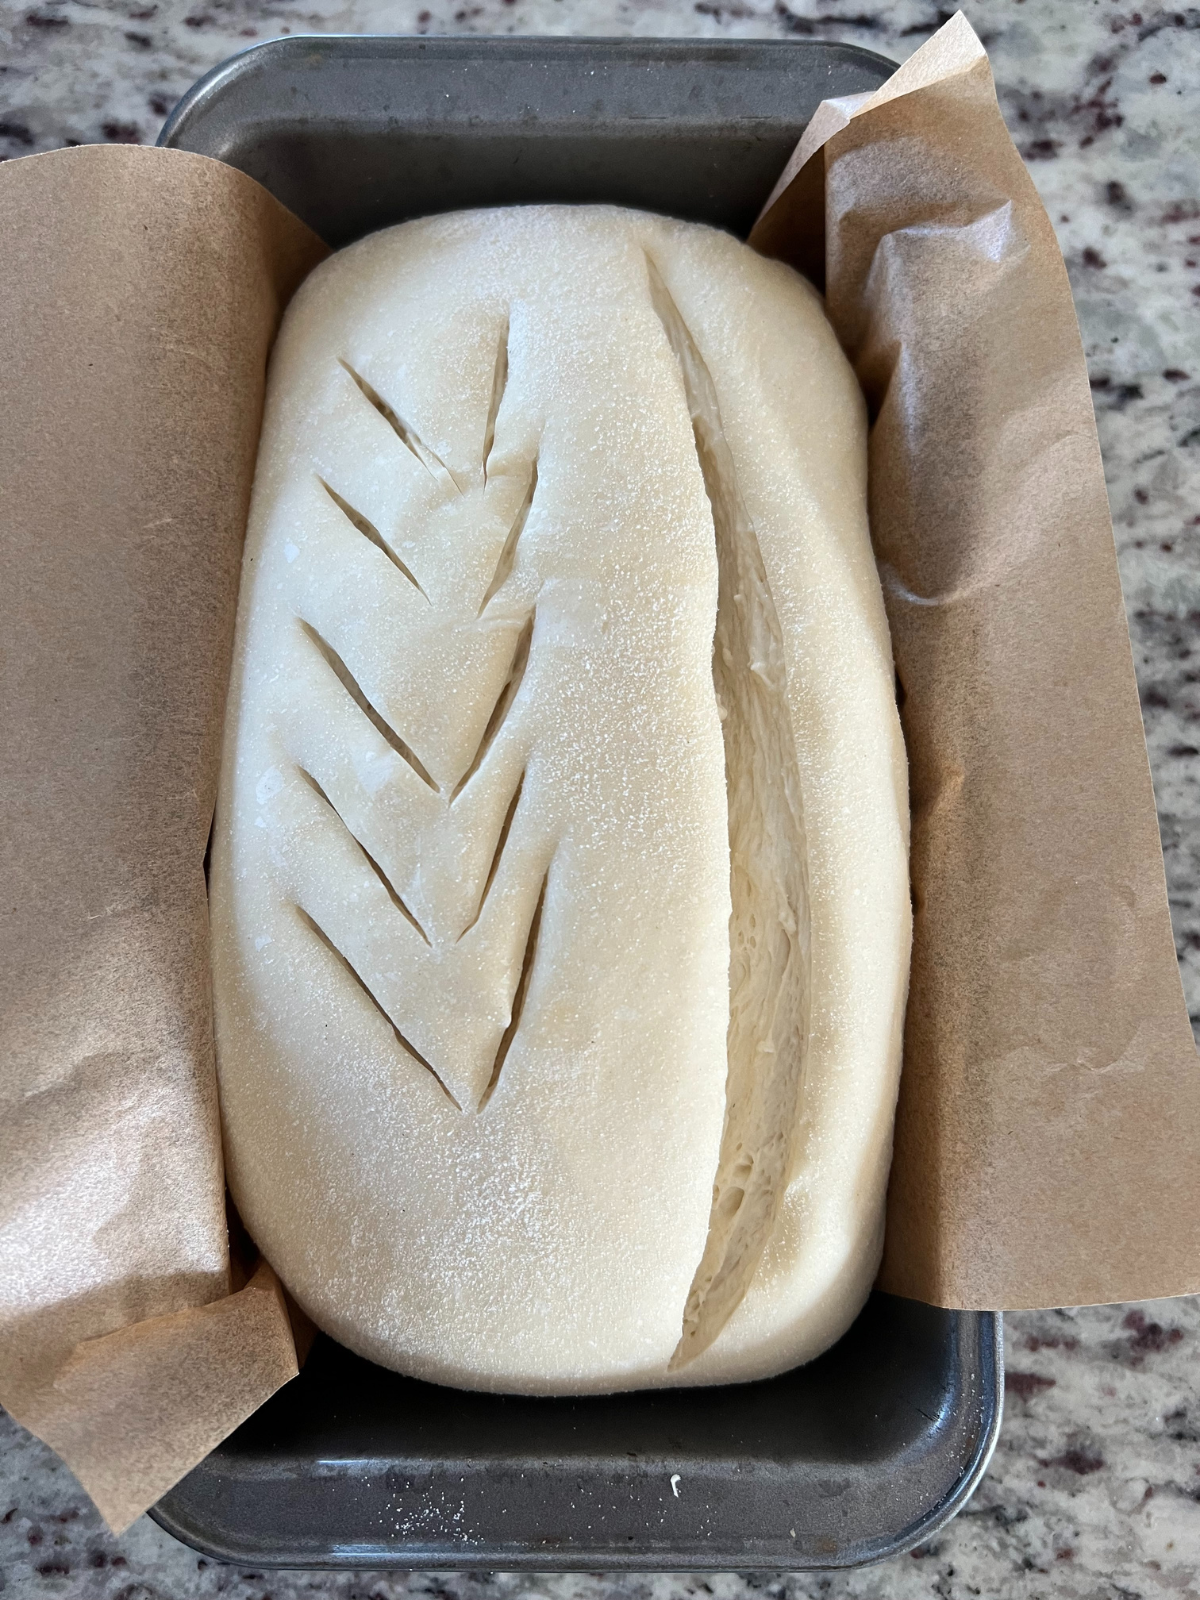
Preheat the oven to 500°F. Just before baking, score the top of the loaf with a sharp knife or bread lame.
Cover the loaf pan with a second loaf pan to trap steam. Place the bread in the oven and immediately reduce the temperature to 375°F. Bake covered for 25 minutes.
Remove the top pan and continue baking uncovered for 20 minutes, or until the loaf is deeply golden and the internal temperature reaches 205°F.
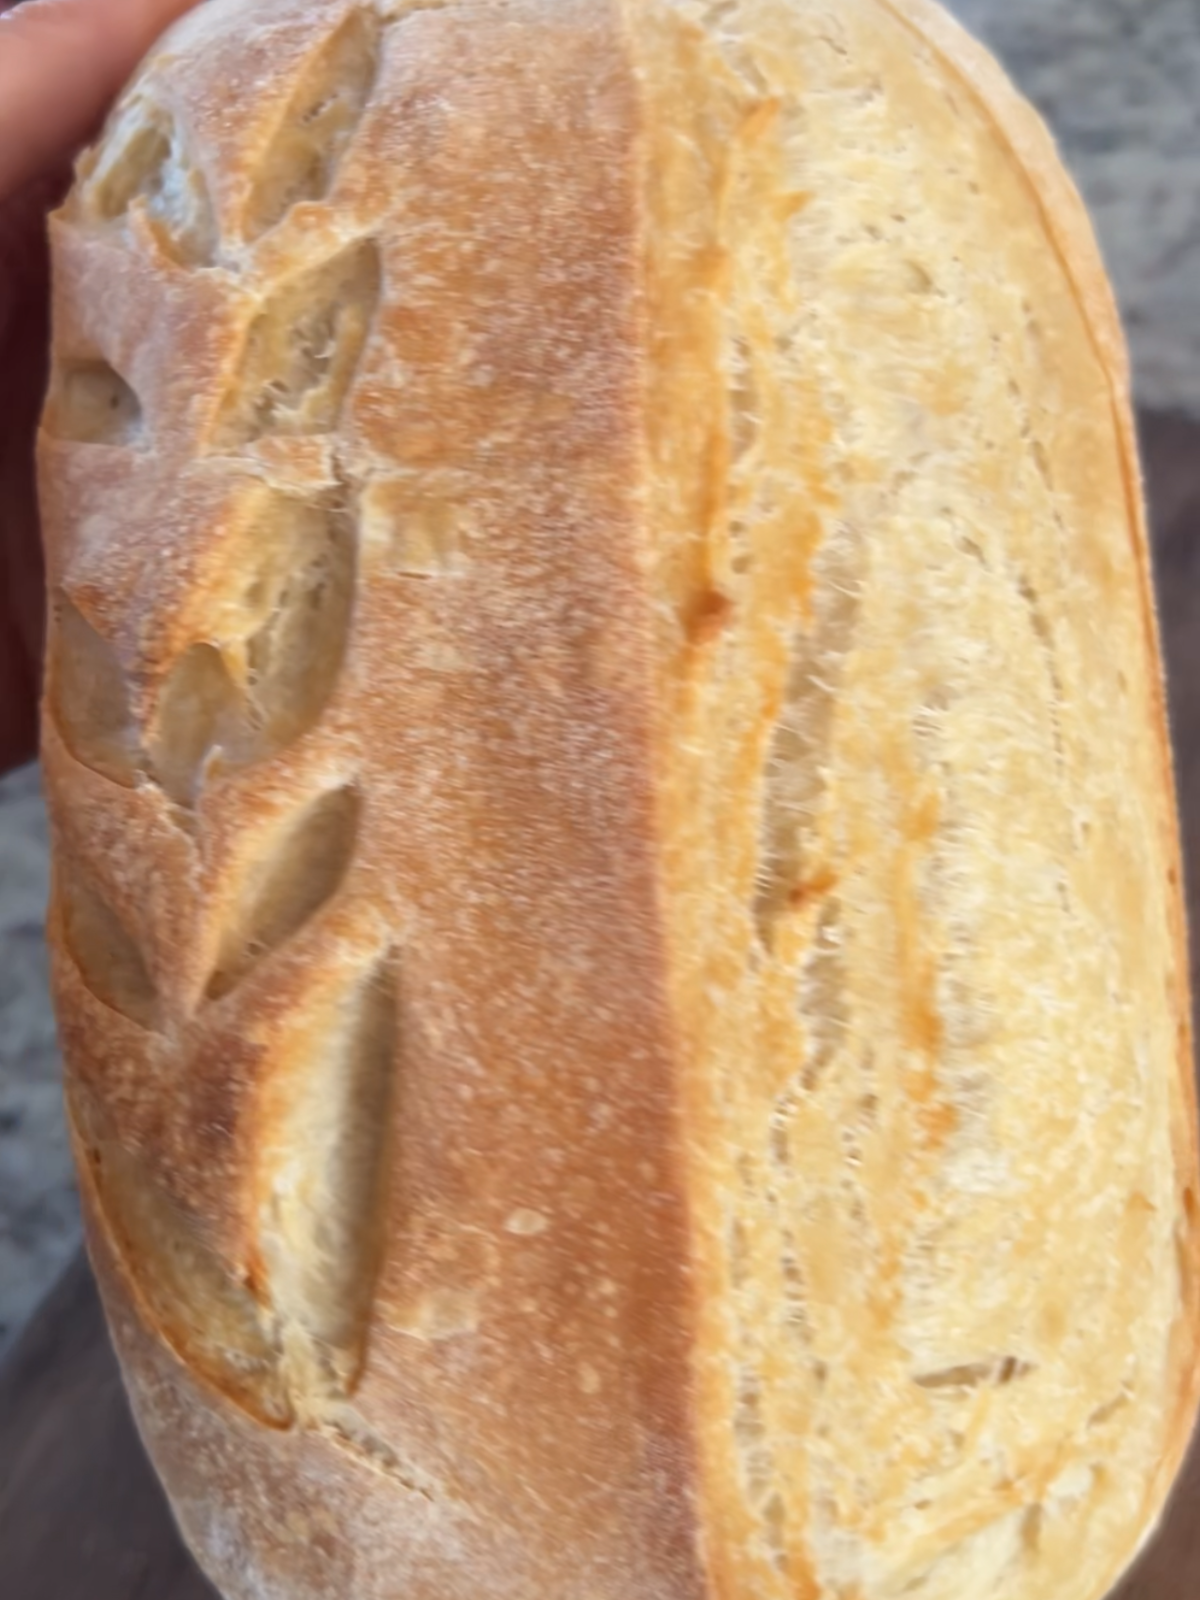
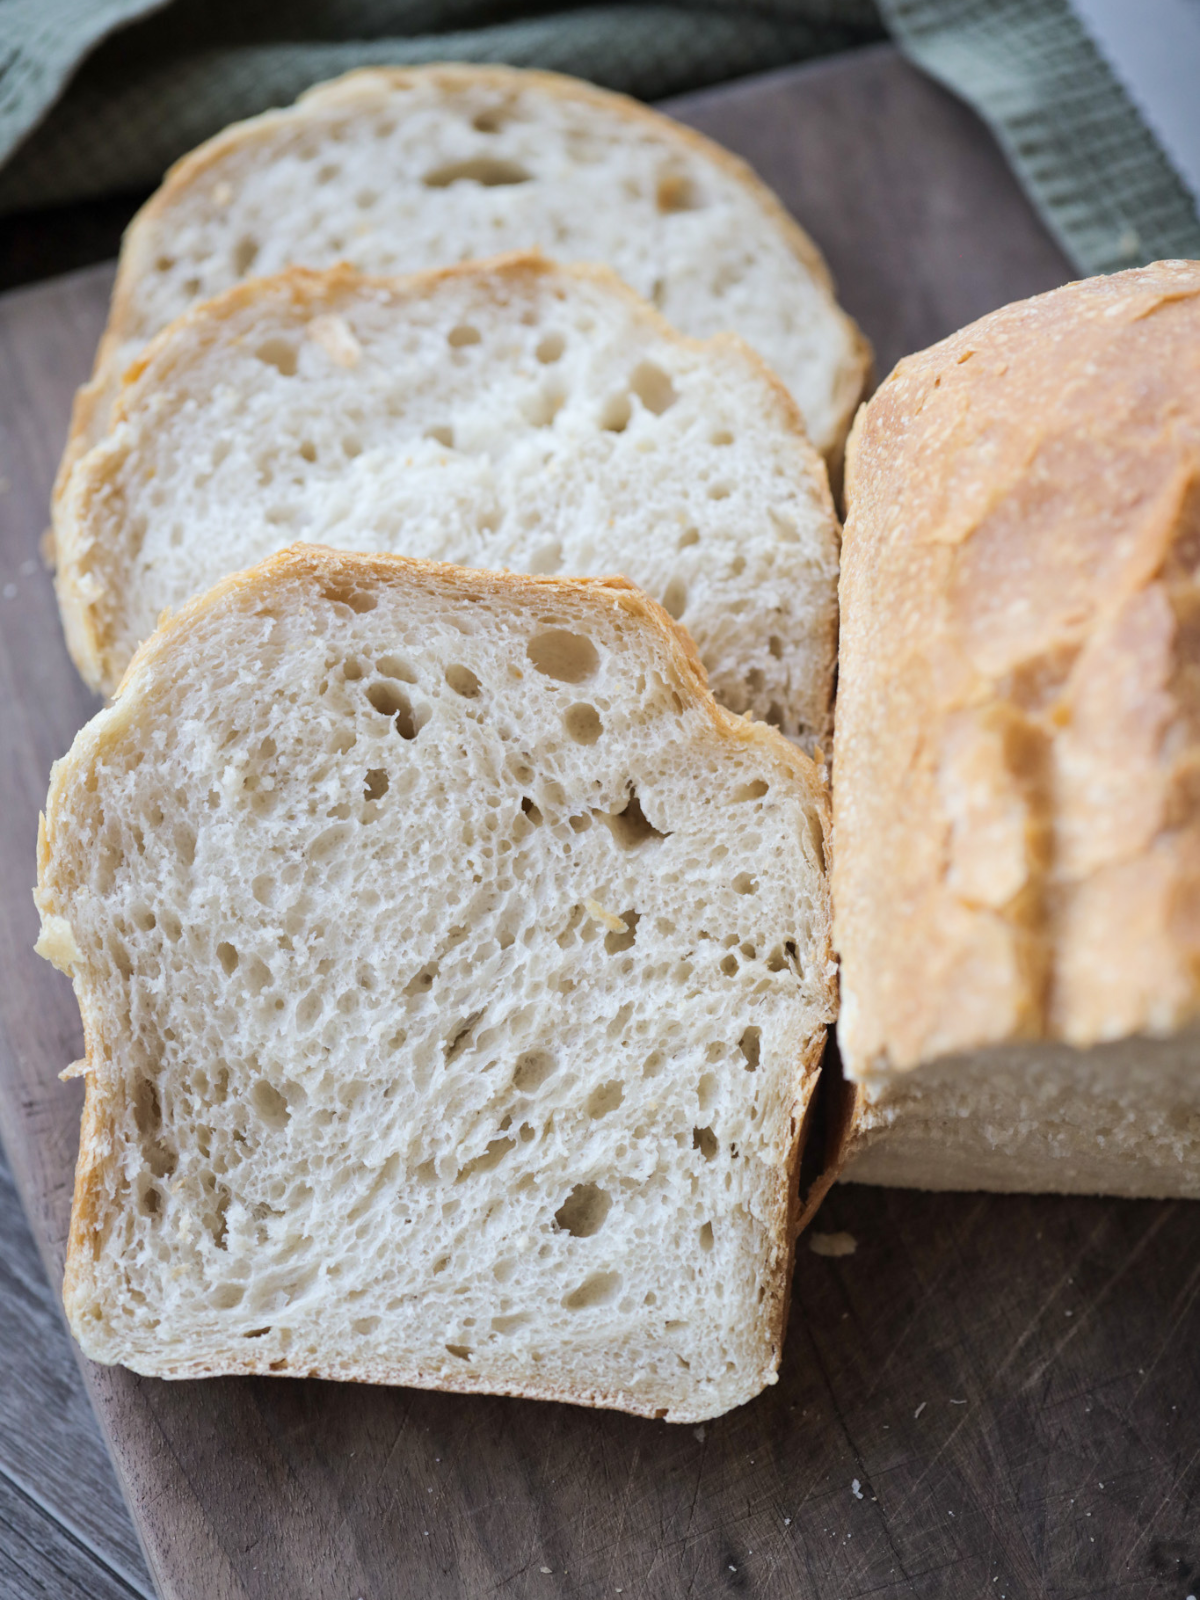
Remove the bread from the pan, spread butter over the top if you’d like (optional), and allow it to cool on a wire rack for at least 1 hour before slicing.
Equipment
- Stand mixer with dough hook attachment
- Large mixing bowl (for bulk fermentation)
- Measuring cups and spoons or kitchen scale
- Bench scraper or sharp knife
- Clean work surface
- Loaf pan (9×5-inch)
- Parchment paper or nonstick spray
- Plastic wrap or clean kitchen towel
- Bread lame or sharp knife (for scoring)
- Second loaf pan (to cover and create steam)
- Instant-read thermometer (optional but helpful)
Helpful Hints
Start with an active starter:
Your sourdough starter should be bubbly and at peak activity to ensure a good rise and soft texture.
Watch the dough, not the clock:
Bulk fermentation time will vary depending on kitchen temperature. Look for dough that has doubled in size and feels light and airy.
Use rice flour for shaping:
Rice flour prevents sticking without being absorbed into the dough, helping you shape without adding extra flour.
Create surface tension:
Pulling the dough toward you during shaping helps build structure and encourages a taller, more even rise.
Proof until domed:
The loaf is ready to bake when it rises about 1 inch above the pan and slowly springs back when gently pressed.
Don’t skip the steam:
Covering the loaf pan during the first part of baking traps steam, giving the bread better oven spring and a softer crust.
Check internal temperature:
The bread is fully baked when the internal temperature reaches 205°F.
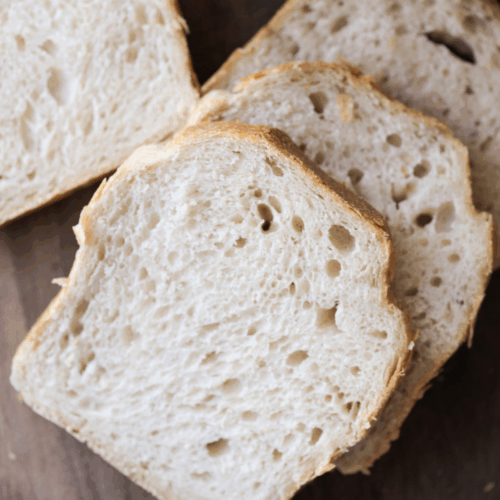
Cool before slicing:
Allow the bread to cool for at least 1 hour so the crumb sets and slices cleanly.
Storage
Room Temperature:
Store completely cooled bread in a bread bag or loosely wrapped in parchment paper at room temperature for 2–3 days.
Refrigerator:
Refrigeration is not recommended, as it dries out the bread and causes it to stale more quickly.
Freezer:
Once fully cooled, wrap the loaf (whole or sliced) tightly in plastic wrap, then place in a freezer-safe bag. Freeze for up to 2 months.
To Reheat:
Thaw at room temperature. For a softer crumb, warm slices briefly in the toaster or microwave. For a crisp exterior, reheat the loaf in a 350°F oven for 8–10 minutes.
Soft Sourdough Sandwich Bread
Ingredients
- 125 g active bubbly sourdough starter, 1/2 cup
- 325 g water 1 1/3 cups
- 25 g extra virgin olive oil 2 tablespoons
- 20 g honey 1 tablespoon + 1 teaspoon
- 500 g bread flour 4 cups
- 10 g salt 2 teaspoons
- Rice flour for dusting
- butter to spread over top of loaf (optional)
Instructions
- Add all ingredients to the bowl of a stand mixer fitted with a dough hook. Mix on low until everything is incorporated, scraping down the sides if needed. Increase to medium-high speed and knead for 10 minutes, until the dough is soft, smooth, and pulling away from the sides of the bowl.
- Transfer the dough to a greased bowl. Cover and bulk ferment for 6-10 hours, or until doubled in size. (My kitchen is about 68°F and it takes the full 10 hours — timing will vary depending on your space.)
- Turn the dough out onto a clean surface. Lightly dust with rice flour and gently shape into a ball by pushing the dough away from you and pulling it back. Cover and rest for 15–30 minutes.
- Flip the dough seam-side up and gently stretch it into a rectangle. Roll from the short side into a tight log, tucking the sides underneath as you go. Pull the dough toward you to create surface tension.
- Place the dough into a parchment-lined or greased loaf pan, seam side down. Cover and proof for about 2 hours, or until the dough rises about 1 inch above the rim of the pan.
- Bake covered for 25 minutes, then remove the top pan and bake uncovered for an additional 20 minutes, or until the internal temperature reaches 205°F.
- Spread butter over the top of the loaf (optional). Cool for 1 hour before slicing.


Hello. I’m so new to sourdough… may I ask… when you say you cover and let bulk ferment for about 12 hours, you mean it just sits there, right? You don’t do the flip and fold or pulls? Sorry if it is obvious. Thank you.
Yes, it just sits there and ferments. That’s a great question! Welcome to sourdough baking, Linda!
This recipe is the one I make weekly in our house. Nice and simple and so incredibly soft!
So how do you make the starter for the sourdough
On my Instagram page, I walk through 14 days of making your own sourdough starter from scratch. I have it saved as a highlight called “starter series”. You start with 60g water, 60g flour and feed one a day for the first couple days. Then on day 3 or 4 you start feeding every 12 hours. Before every feed, you will discard half of the starter before feeding it again. By day 14 it should be rising and bubbly and ready to bake with!
Do I need to make any adjustments to the flour if I am using Whole-wheat?
I haven’t tested this recipe with whole wheat flour. I’d recommend increasing the water by 10-20% if you do use all whole wheat flour.
I was wondering the same thing. Have you tried the whole wheat? How did it turn out?
Can you shape, put in loaf pan then refrigerate? Next day let it rise and bake?
Yes, you can!! I’ve done that many times and it works great. 🙂
Trying it today.
LOOKS GREAT
THANKS 👍
Wonderful, Dave! Hope it turns out lovely!!
Can you use discard for this?
No, you’ll need the active starter to make the bread rise for this recipe.
I have always been intimidated to make bread. But your video and recipe sounds incredibly easy. I do not have a starter. Could you please tell me how I can make a starter so therefore I could make your recipe. Thank you in advance..
If you have Instagram, I have a highlight saved that says “starter series”. I walk you through all 14 days of making your own sourdough starter. Basically what you want to do is mix 60 grams water, 60 grams flour. Feed every 12 hours–discarding half before you feed. The videos go into more detail.
Would it make a difference if I were to use cast iron pans for this recipe?
Cast iron loaf pans or a dutch oven? The cast iron pans may need to bake at a higher temperature, which may speed up the bake time. So just keep an eye on it!
I’ve made this specific recipe 100s of times at this point, so I know that it is a reliable one. I’m curious if you used a kitchen scale and it you actually kneaded until the dough started pulling away from the sides or if you stopped before it was completely kneaded. If it wasn’t done kneading, it will result in a sticky dough that is hard to work with. But this dough is 69% hydration which is a very workable dough.
Can I use regular flour ?
Yes, I’ve used all-purpose in this one!
Hi, if I don’t have a second loaf pan to cover it while baking, what else could I use instead?
You could add a roasting pan with several ice cubes in it and set it on the lower rack in the oven! That will help create steam.
Made this recipe today and the loaf turned out amazing. Exactly what I was looking for in a loaf of bread. This recipe will be my go to. Thank you so much!
Oh gosh, Brenda, you made my day! So glad the recipe worked well for you. 🙂
I have a small 8 inch ( I think) pullman loaf pan. Have you ever tried it with that? Mine does have a lid.
Those are great pans! I haven’t tried it in that, but I’d assume you’d be able to bake it in a pullman. My only thought is you won’t want to wait for the dough to rise above the loaf pan since that has a flat top, but then when it’s time to take off the lid, it should rise more. Let me know how it works out if you try it! This recipe is very agreeable–easy to work with and make work for you. 🙂
Your recipe will now be my go to recipe. Thank you so much. It is super soft and perfect. What I did different for the pan was after the bulk fermentation, I just shaped it and put it on the parchment paper and into the pan. I didn’t wait the 2 hours for it to rise again. I just had it resting/ rising the time it took to preheat the oven. Also, I baked 40 minutes lid on and 20 minutes lid off. Came out so soft and perfect, and I’ve tried several sandwich loaf recipes. Thanks again
Oh, wonderful, Beth!! So glad it is a winner! Yay!
Follow this recipe exactly and I’m in the bulk formation stage. I covered my bowl with a tea towel and left the dough to rise overnight. In the morning, it definitely grew. However there is a firm crust that formed along the top. I can actually pinch it and pull it off. Has this ever happened to anyone?
If this happened, I’d recommend using plastic wrap next time. It could be that the air flow dried out the top of the dough.
Help! It didn’t turn out for me. I followed the recipe exactly and in the mixer it was not forming a ball it was super sticky almost like focaccia dough.I mixed with dough hook for 8 minutes. What went wrong? Do you sometimes add more flour? Did I over mix it? 🤦♀️
Did it ever pull away from the sides? It definitely starts out as sticky in the beginning and after kneading (for me it takes about the full 10 minutes, but this can vary based on kitchen temperature and humidity level). I wouldn’t add more flour if you used exactly the amount listed in grams. I wonder if you needed to knead longer? And scrape the sides of the bowl. What’s the temp of your kitchen? We could try to brainstorm from there. I’m so sorry!
Same issue
Was the dough smooth after kneading? If it was, then most likely your dough was over fermented. If it was always sticky, you may not have kneaded it long enough. Bulk fermentation time can vary greatly depending on temperature and humidity.
Can’t make my phone do 5 stats but it’s worth that and more made once before and it was perfect. This time I may have added too much water was having problems with my scale. Next time will weigh out water first in a separate container. Ended up with a very sticky dough but it rose well and I did a few stretches early in bulk ferment and it firmed up a bit. In the oven now. Wish me luck.
.
Oh, I’m so glad to hear it worked out for you, Sue! I am sure the bread will still turn out great this time around! Thank you for taking the time to leave a review. I sure appreciate it!
My family loves this soft sandwich bread and I love this easy to make recipe! Thank you, Jamie.
Oh, I’m so glad your family enjoys it, Julie! Thanks for taking the time to leave such a kind review!
Both times I’ve made this the dough is very sticky when I try to shape it and roll it. I don’t want to add too much flour so I thought I’d ask if it should be extremely sticky. Having said that, the bread turns out amazing anyway…best sourdough bread I’ve made.
Thanks for writing in, Greg! So a couple questions: is the dough sticky after you knead it? It should be nice and smooth when you’re done kneading. If it is, then I would cut down on the bulk fermentation time, because it sounds like the dough is sticky because it is over fermented. If it was still sticky immediately after kneading, then yes, I would add a bit of flour or cut back on water next time. The dough should be easy to handle after bulk fermentation.
Hi I’m In the UK and generally we don’t have bread as sweet as it is in the US. Could I omit the honey or reduce the amount please?
Hi! The honey is added for softness, to aid fermentation, and browning. With that said, it isn’t necessary and you can certainly omit it!
Can you use gluten free bread flour?
I have not tried it with gluten free bread flour, but I have heard from others that it worked for them. Let us know if you do try it!
Ive made it before and its wonderful but Im confused on one thing—it says 10g salt (1 teaspoon) but I used a tsp today specifically and it was only 5 or 6 grams, and it came out needing salt. Is it maybe supposed to be 2 tsp?
Yes! I’m sorry, 10 grams of salt is 2 teaspoons, I mistyped there. I’ve corrected it now. Thank you, Jen!
Thank you so much! I think I must have followed the grams the first two times but the tsp the third.