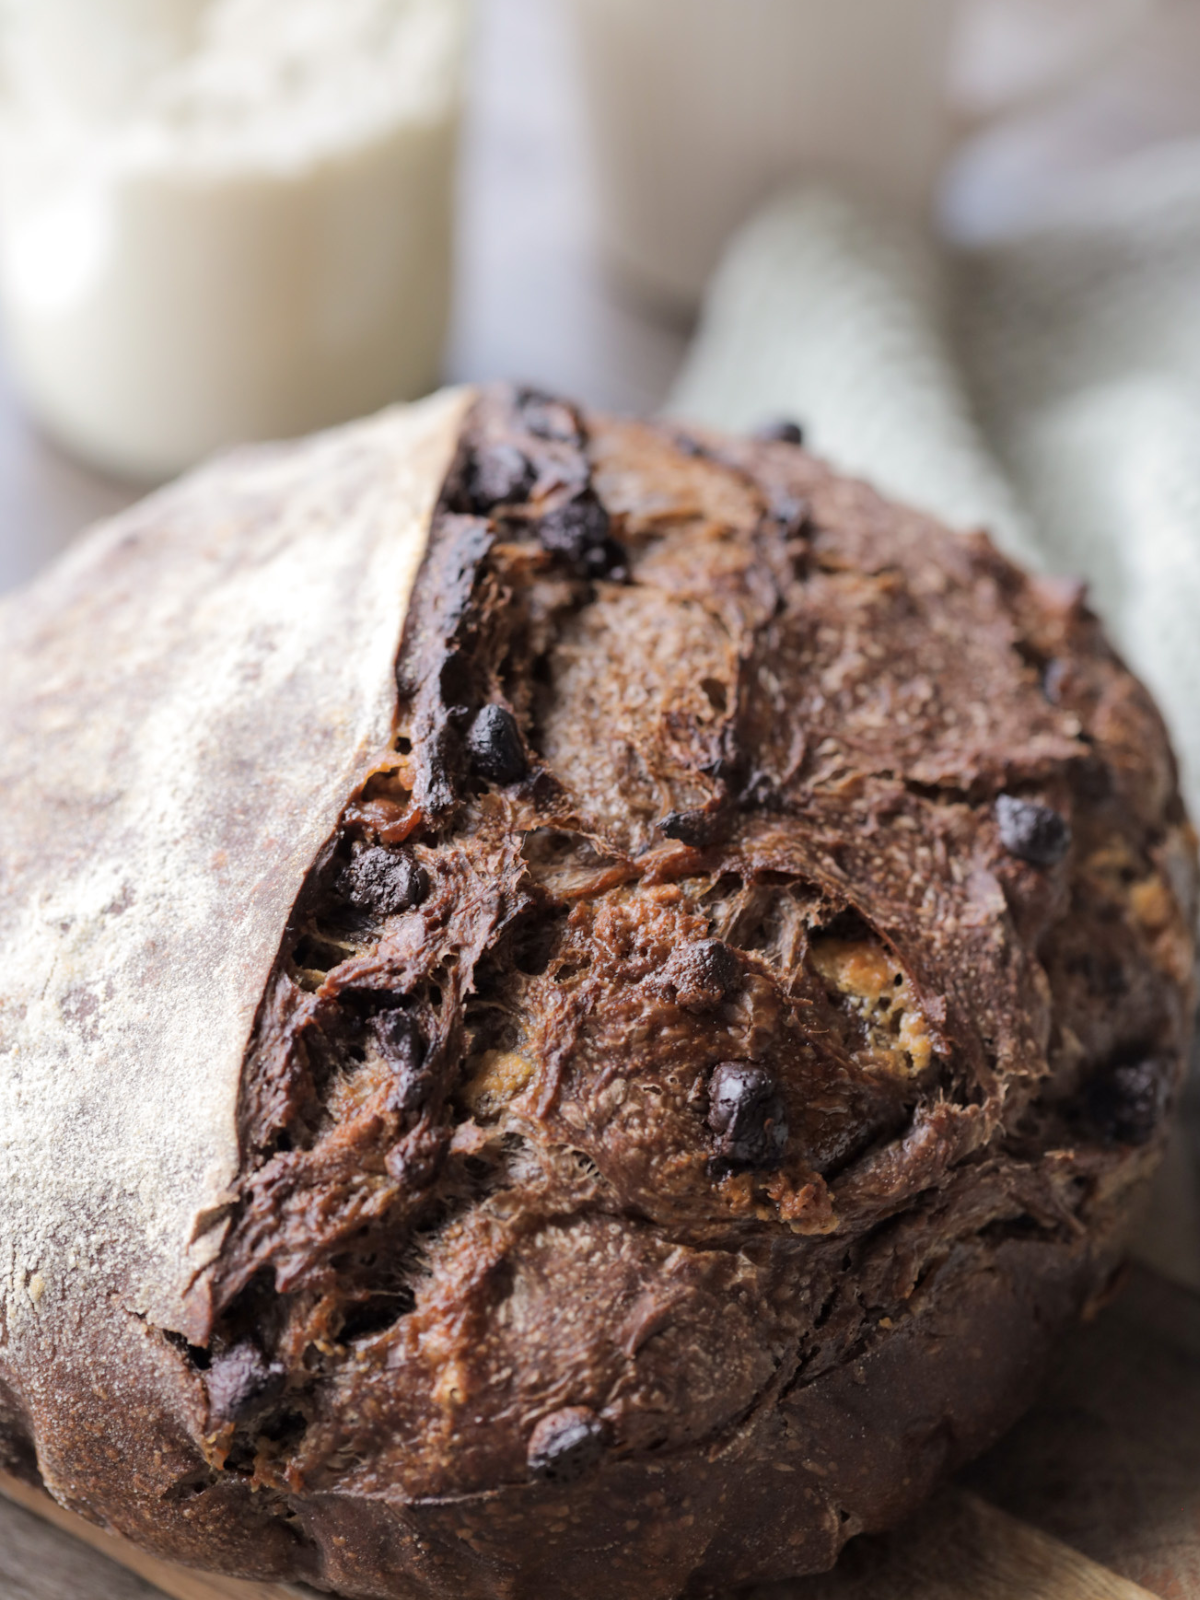
Coffee & Chocolate Sourdough Bread
As an Amazon Associate, I earn from qualifying purchases.
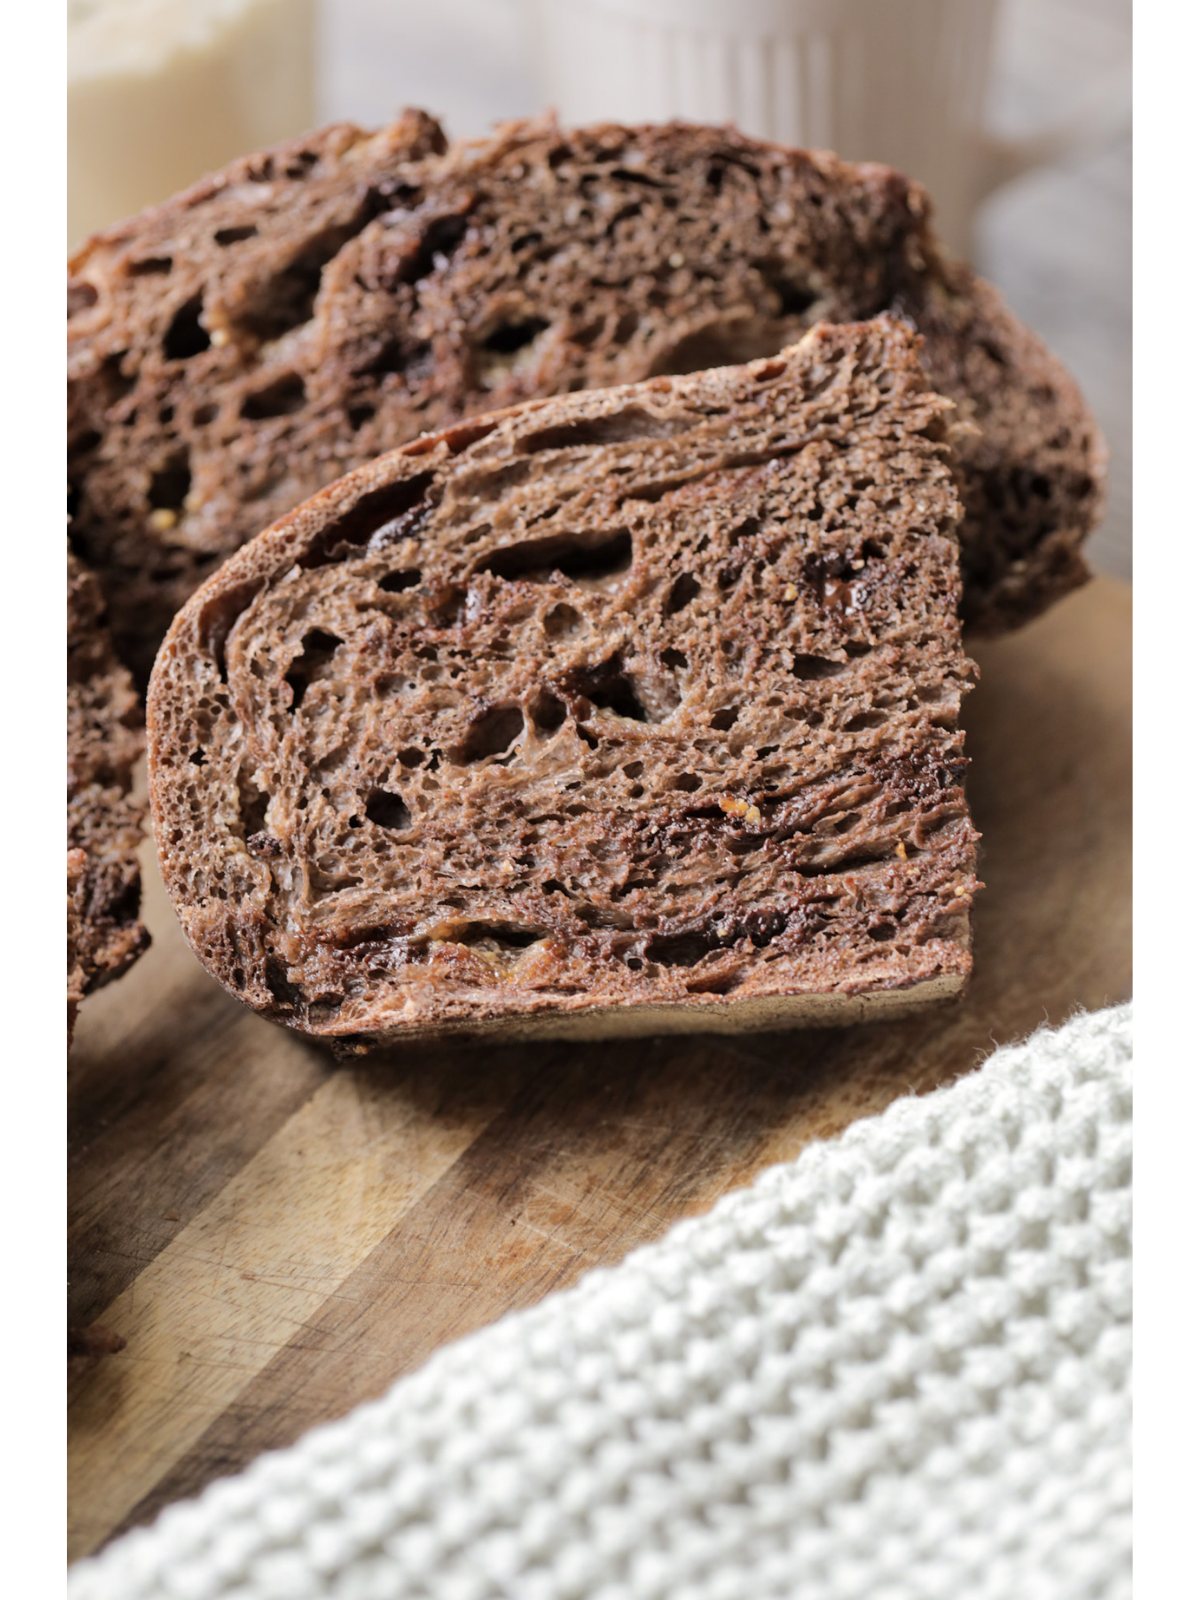
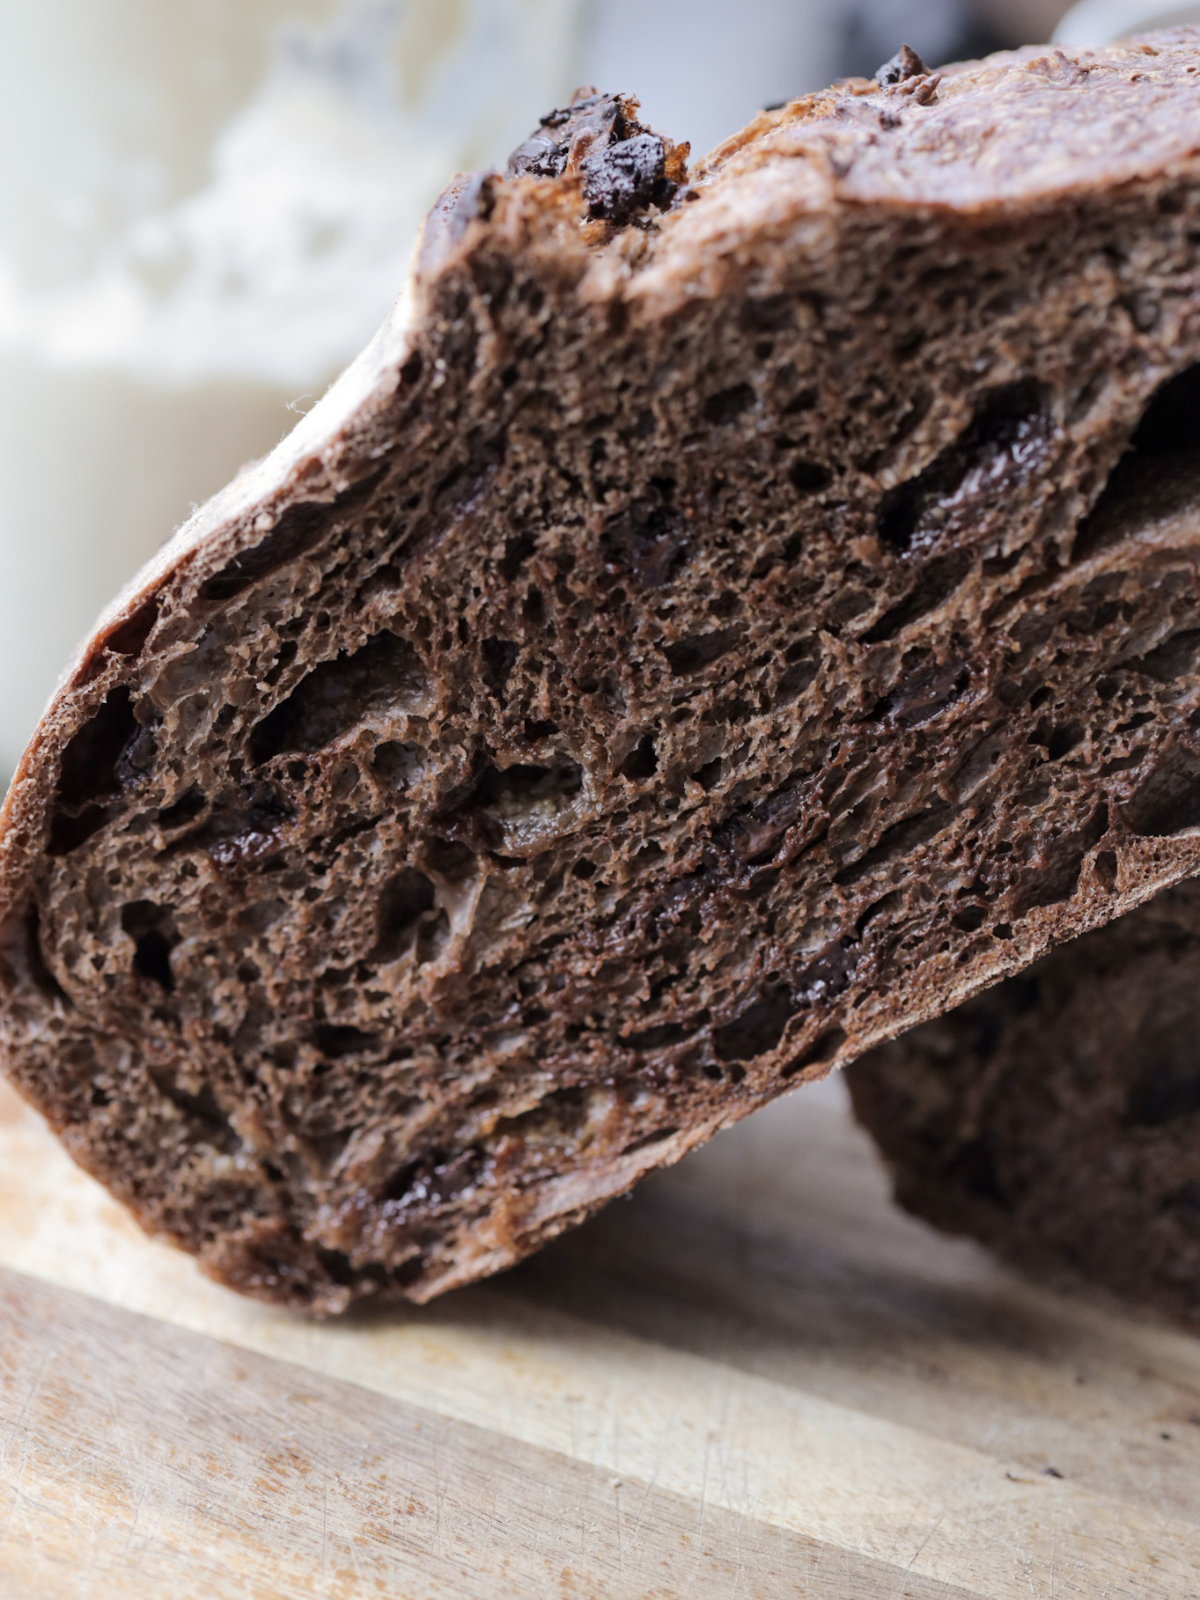
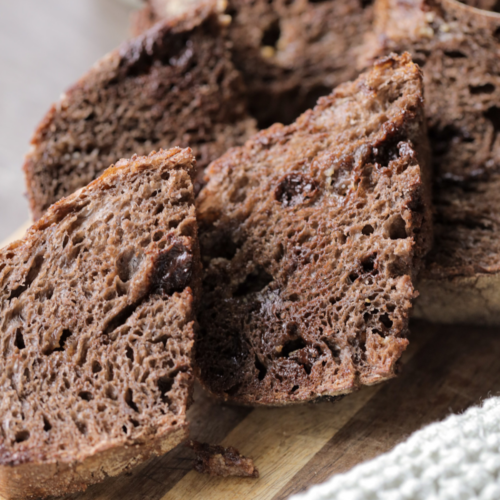
This coffee and chocolate sourdough bread combines cocoa, brewed coffee, and melty white and semi-sweet chocolate chips for a deeply flavorful, artisan-style loaf. Naturally fermented with sourdough starter, it features a soft, tender crumb and crisp crust—perfect for breakfast, brunch, or a sweet treat!

I had been craving a rich chocolate sourdough loaf for a while; so when the thought of adding coffee to my sourdough first hit me, I went wild and replaced *all* the water with coffee. I….wouldn’t recommend that!
It took a couple of tweaks to get the recipe right where I’d like it, and now I am *so* excited to share it with you!
If you’re a coffee and chocolate fan, you’re going to absolutely LOVE this chocolate and coffee sourdough bread recipe!
Looking for other fun sourdough bread recipes? Check these out!
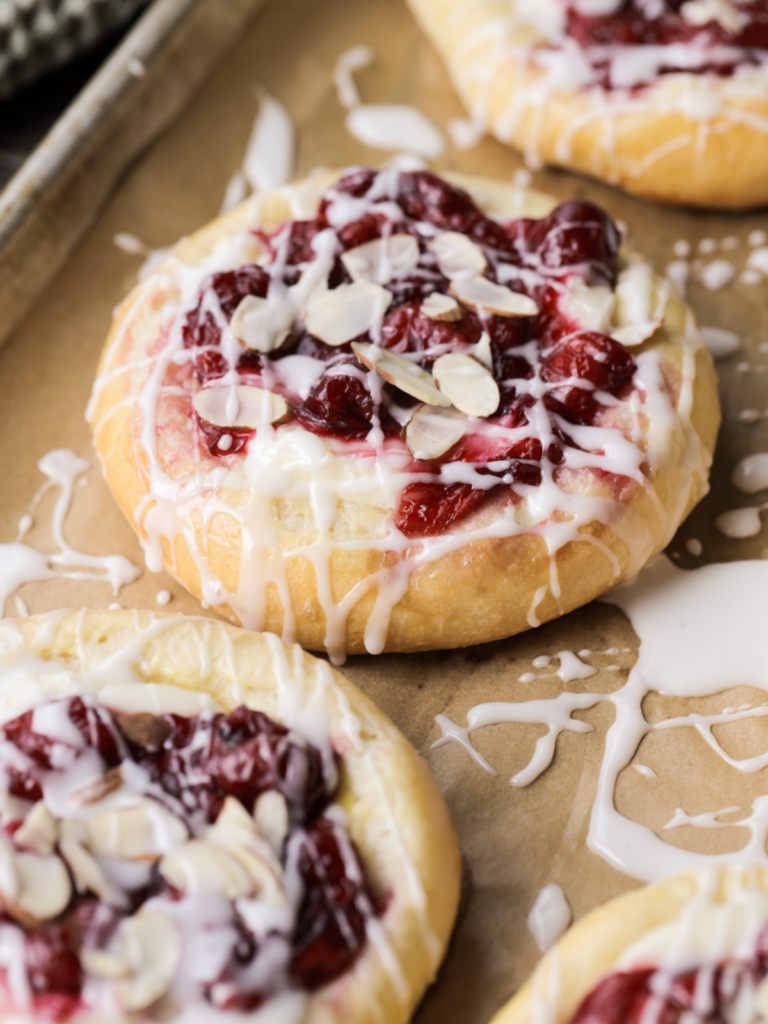
- cherry chocolate sourdough bread
- strawberry white chocolate sourdough bread
- jalapeno cheddar sourdough bread
- bacon and smoked gouda sourdough bread
- sourdough s’mores bread
Ingredients
- Active sourdough starter – make sure your sourdough starter is active, bubbly, and ready to bake some delicious sourdough bread!
- Brewed coffee, cooled – make sure your coffee is completely cooled before adding it in with the ingredients.
- Water
- Maple syrup – this adds the perfect amount of sweetness to the dough. Make sure you don’t go over the 10 grams allotted in this recipe. Maple syrup is sugar, and extra sugar creates extra hydration, which results in a wet loaf that won’t turn out as you’d hoped! Alternatively, you can substitute with granulated or brown sugar.
- Bread flour
- Cocoa powder – Unsweetened cocoa powder is what I use. You can also use unsweetened Dutch-processed cocoa powder.
- Salt – I add this 30 minutes after mixing the dough.
- Semi-sweet chocolate chips – You can also use dark chocolate chips or milk chocolate.
- White chocolate chips – These add the perfect sweet flavor! They melt into the dough.
Step-By-Step Instructions
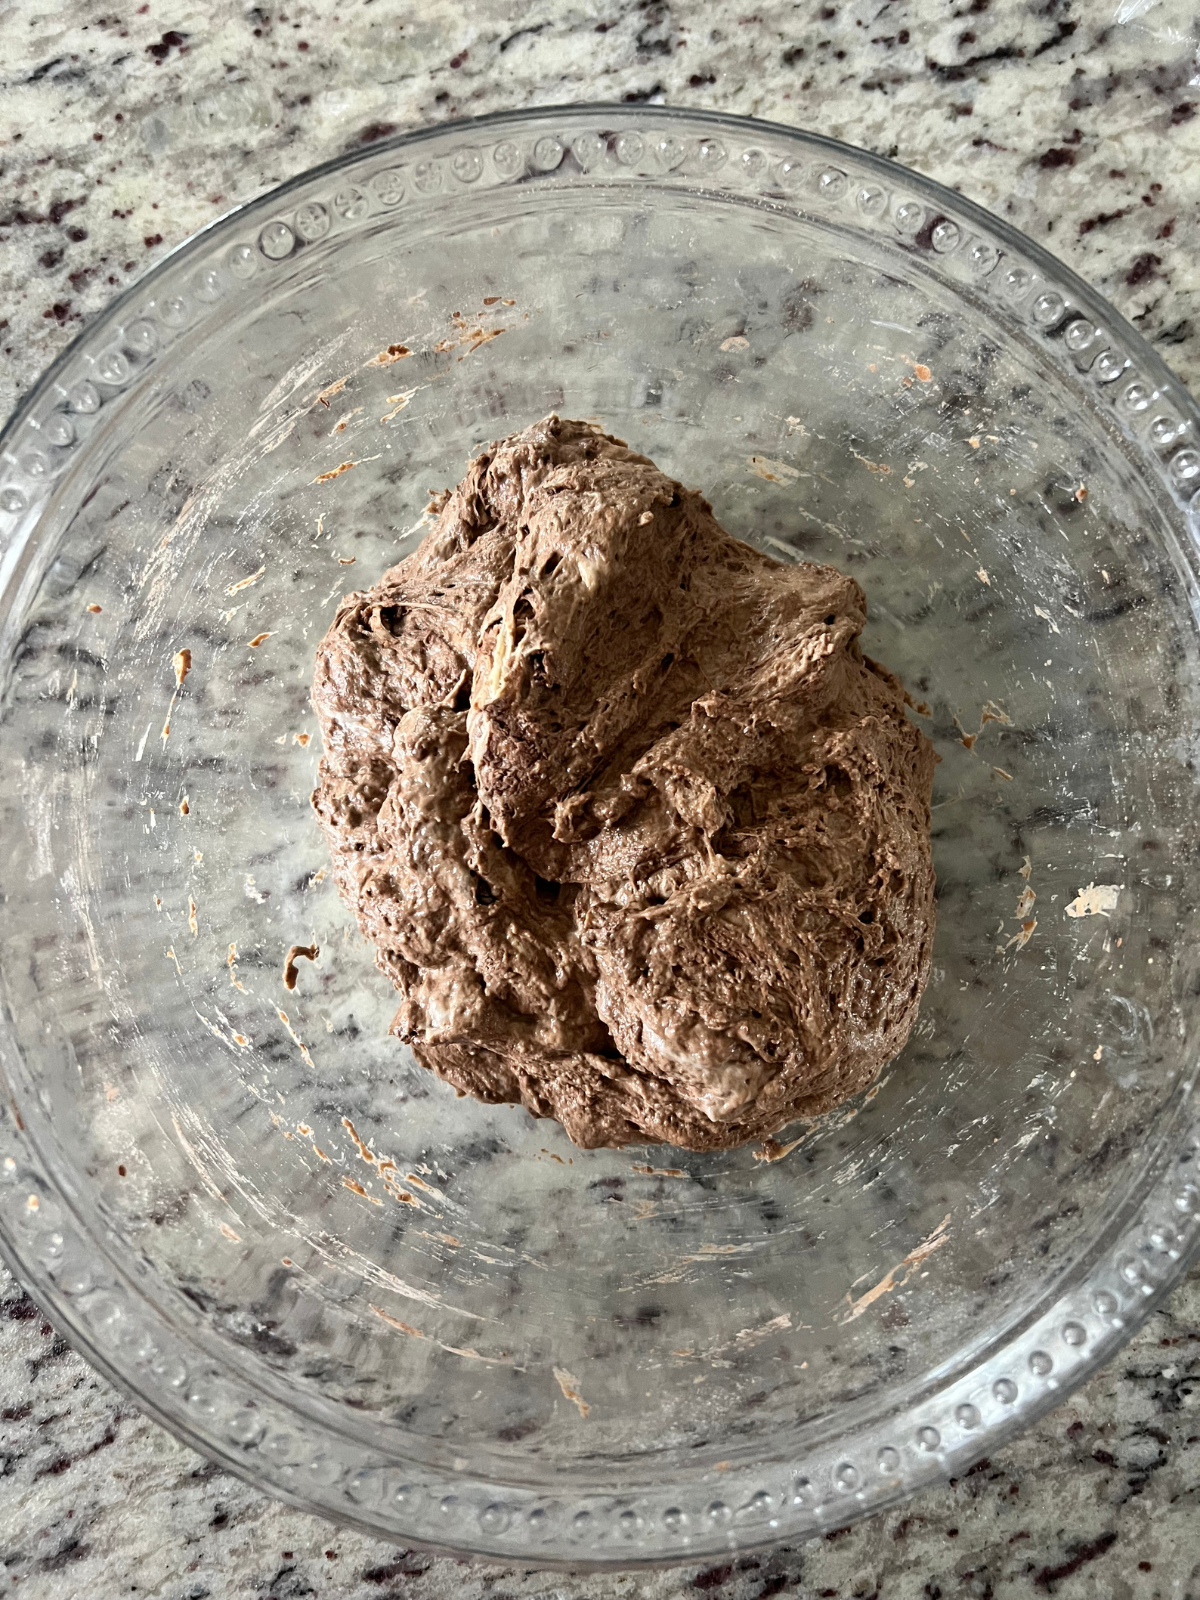
Mix the base: In a large bowl, whisk together the sourdough starter, cooled coffee, water, and maple syrup until mostly combined.
Add dry ingredients: Add the bread flour and cocoa powder, mixing with a dough whisk until a shaggy dough forms and no dry spots remain.
Rest (autolyse): Cover and let the dough rest for 30 minutes to fully hydrate the flour.
Incorporate salt: Sprinkle the salt over the dough and gently pinch and fold until fully incorporated.

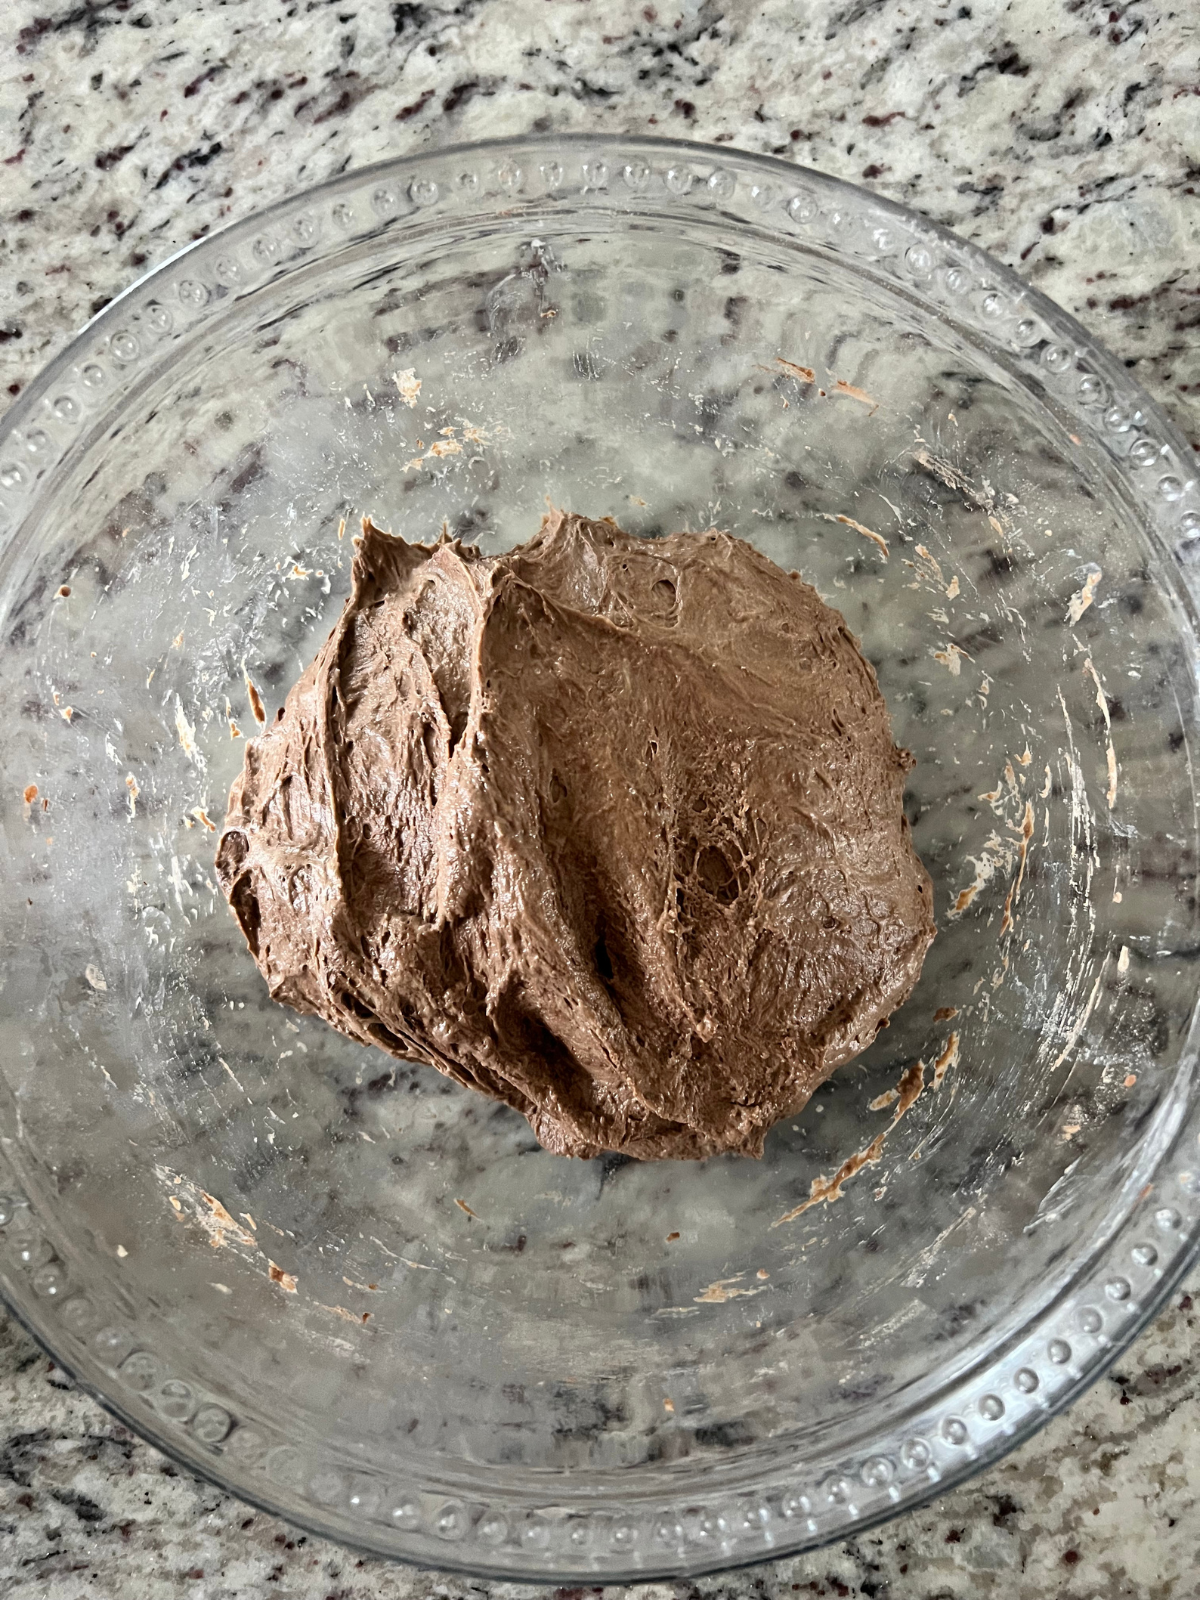
Stretch and folds: Perform 3–4 sets of stretch and folds, spaced 20–30 minutes apart, until the dough becomes smoother and more elastic.
Bulk ferment: Cover and let the dough rise at room temperature for 4–6 hours, until slightly puffy with visible bubbles and a soft jiggle.
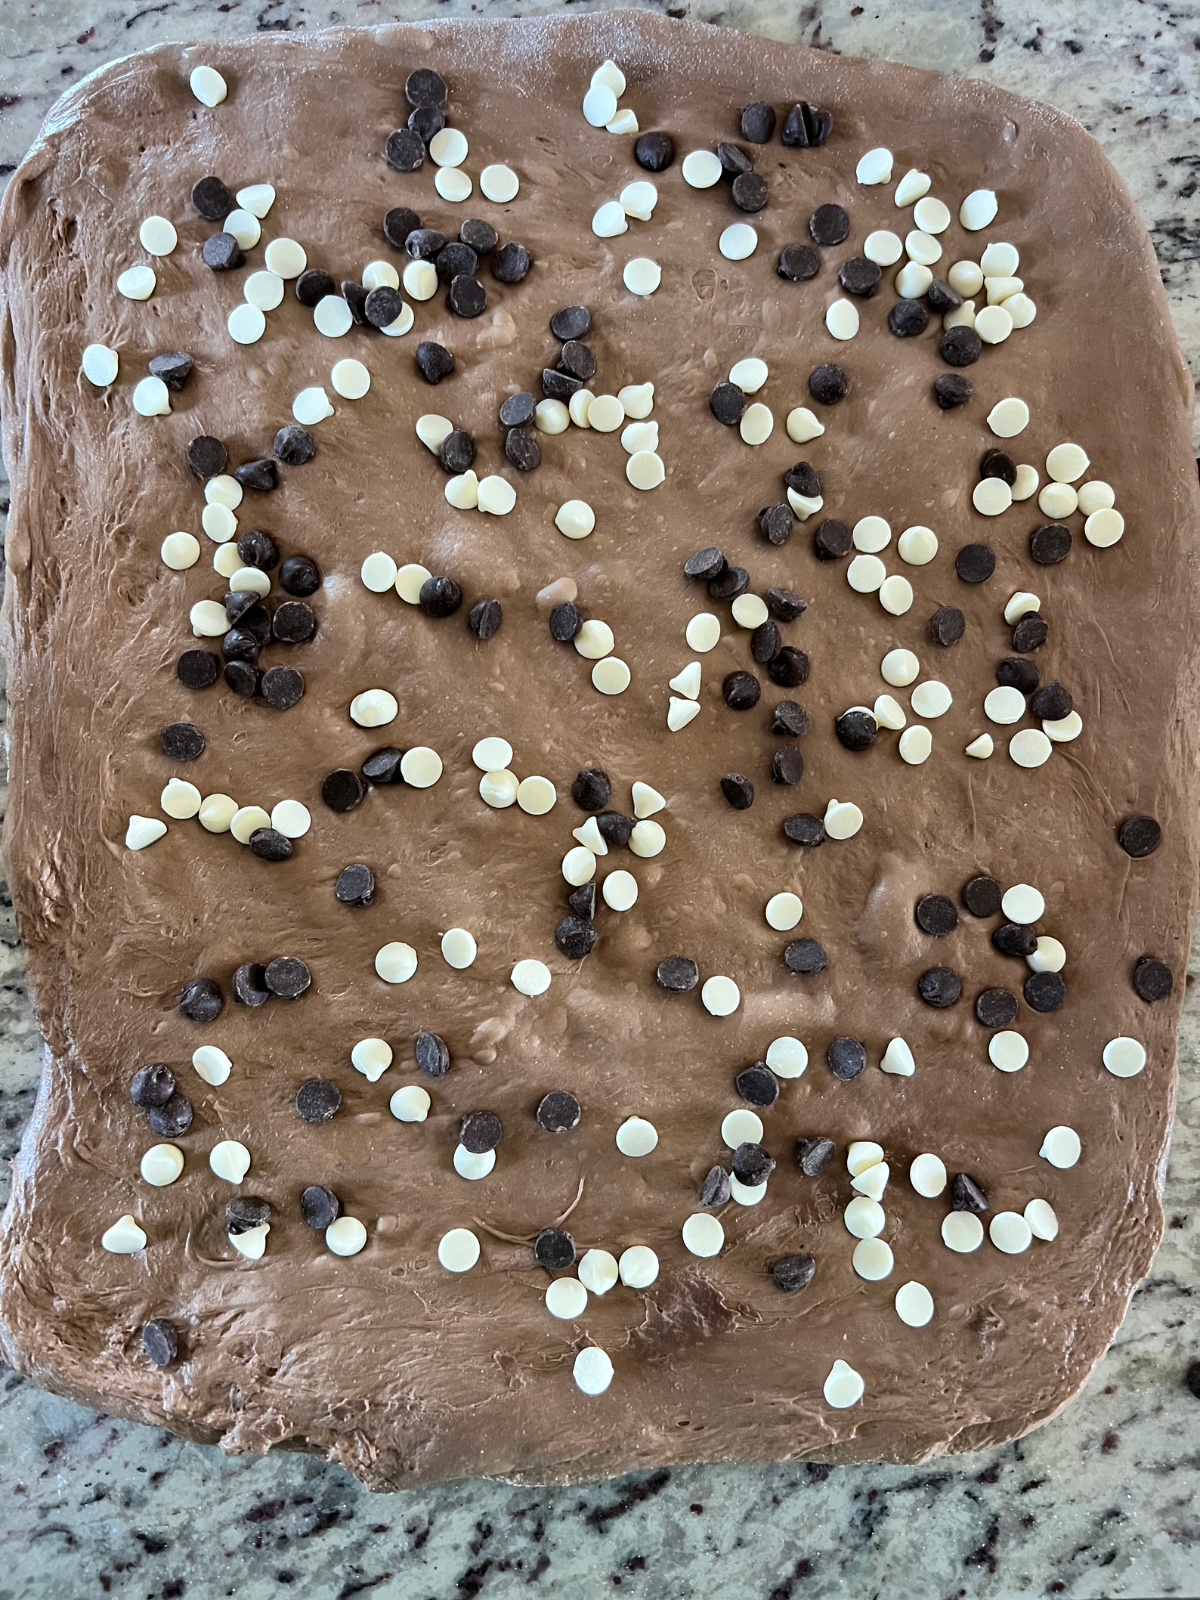
Shape the dough: Turn the dough onto a lightly floured surface and gently stretch it into a rectangle.
Add chocolate chips (first layer): Sprinkle just over half of the chocolate chips evenly across the surface.
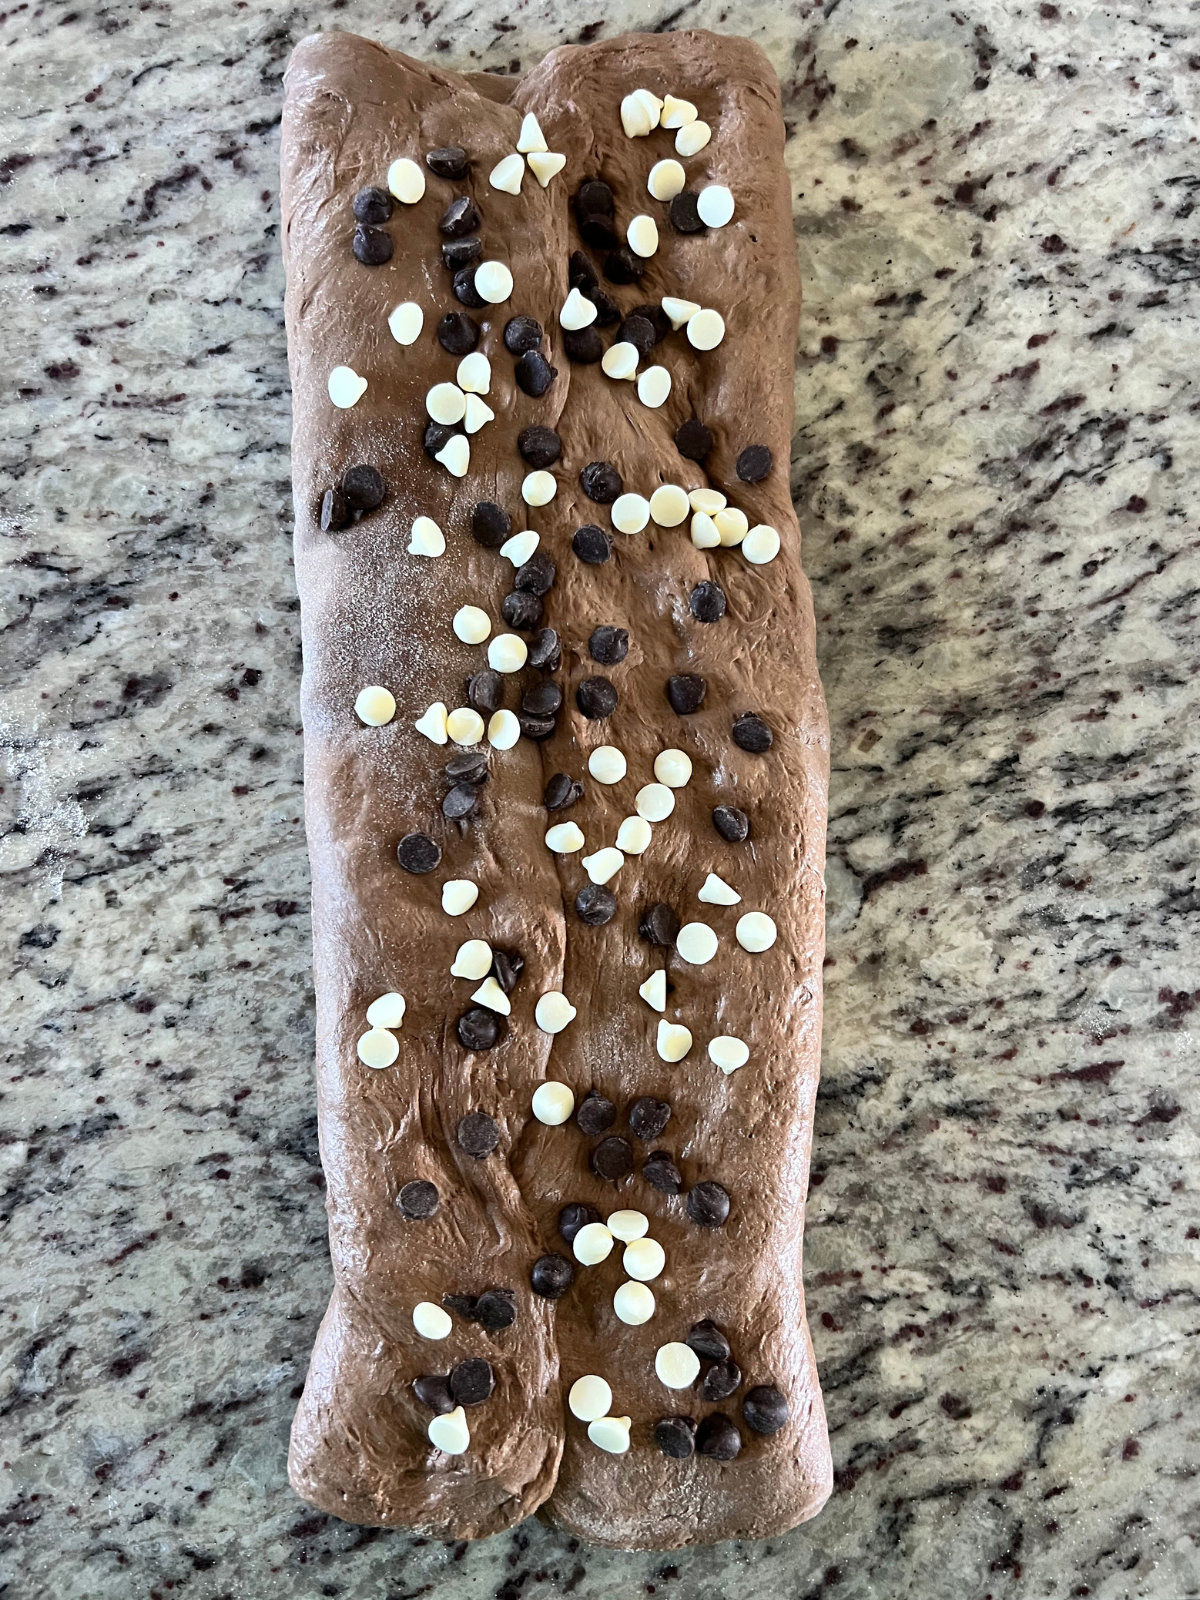
Fold and layer: Fold one side of the dough toward the center, then fold the opposite side over the top. Sprinkle the remaining chocolate chips over the dough.
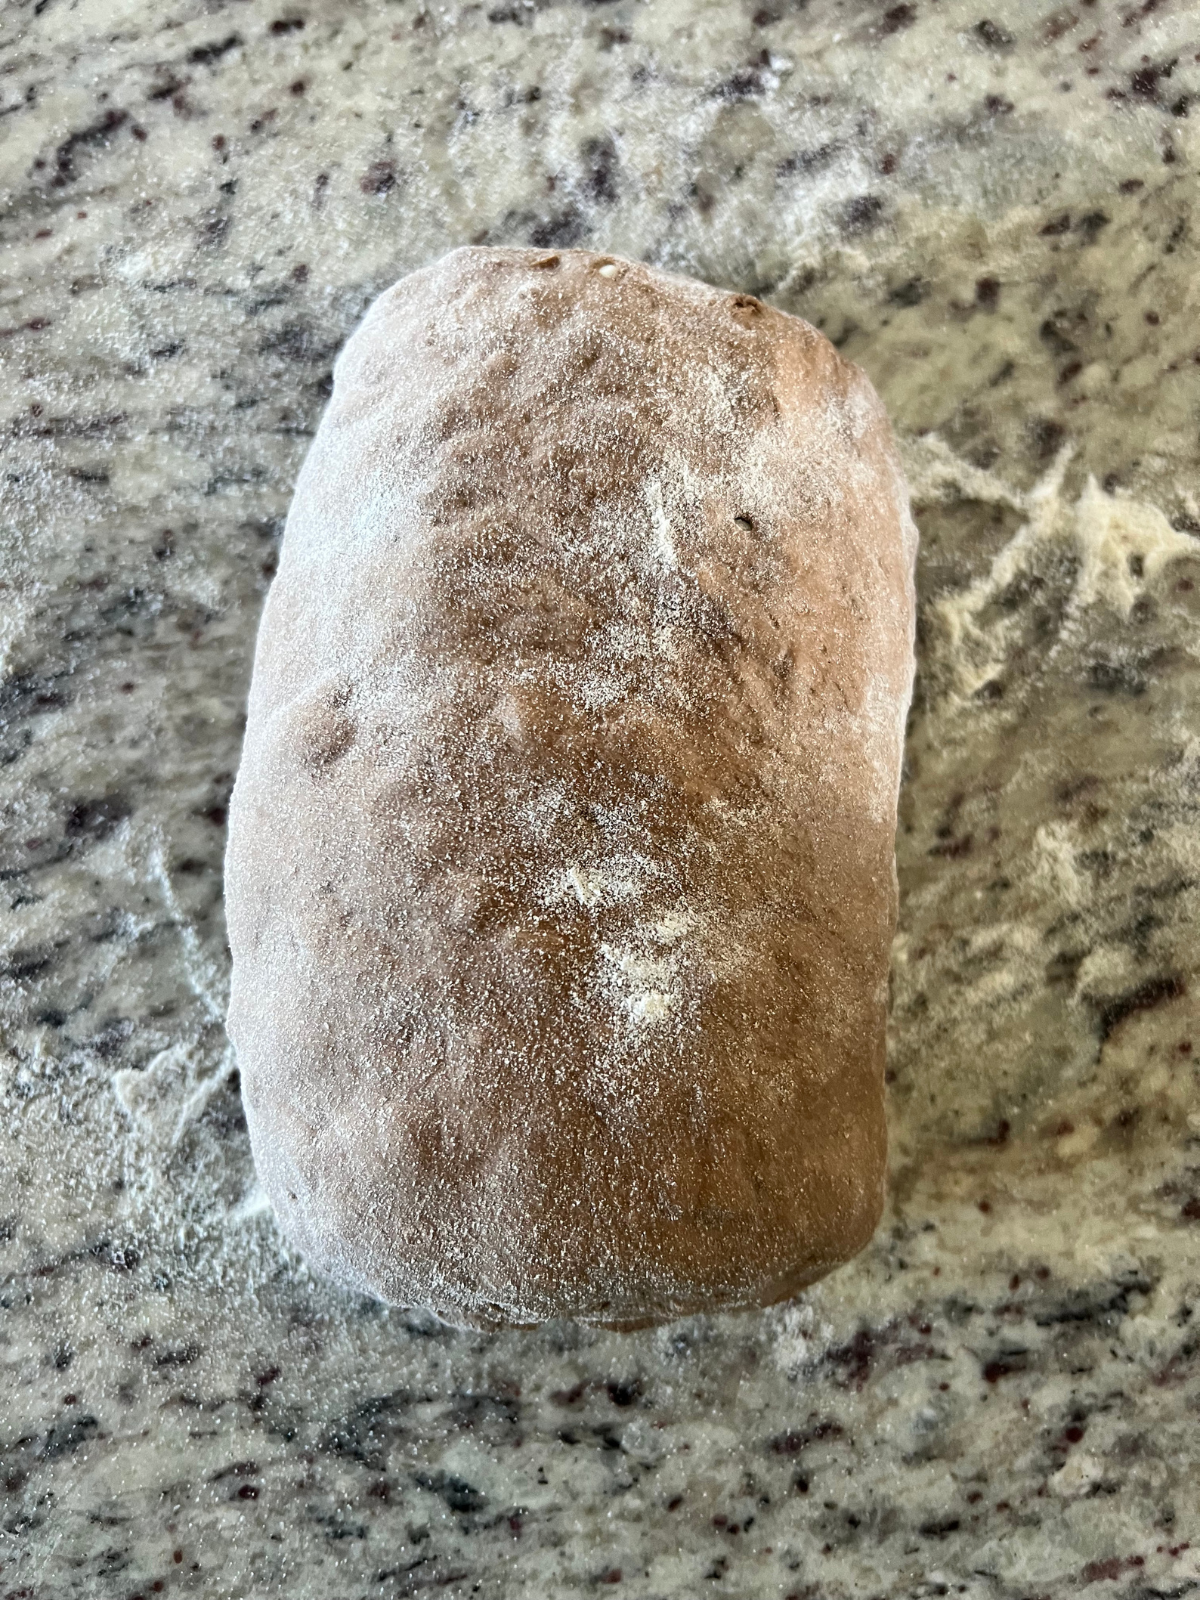
Form the loaf: Roll the dough into a loaf shape, pinching the seams along the sides and bottom to seal.
Build tension: Gently shape the dough using a light push-and-pull motion to create surface tension, being careful not to tear the dough or expose the chocolate chips.
Transfer to banneton: Place the dough seam-side up into a rice flour-dusted banneton.
Cold proof: Cover and refrigerate for 8–24 hours.
Preheat oven: Preheat your Dutch oven to 450°F (232°C) for 30–60 minutes.
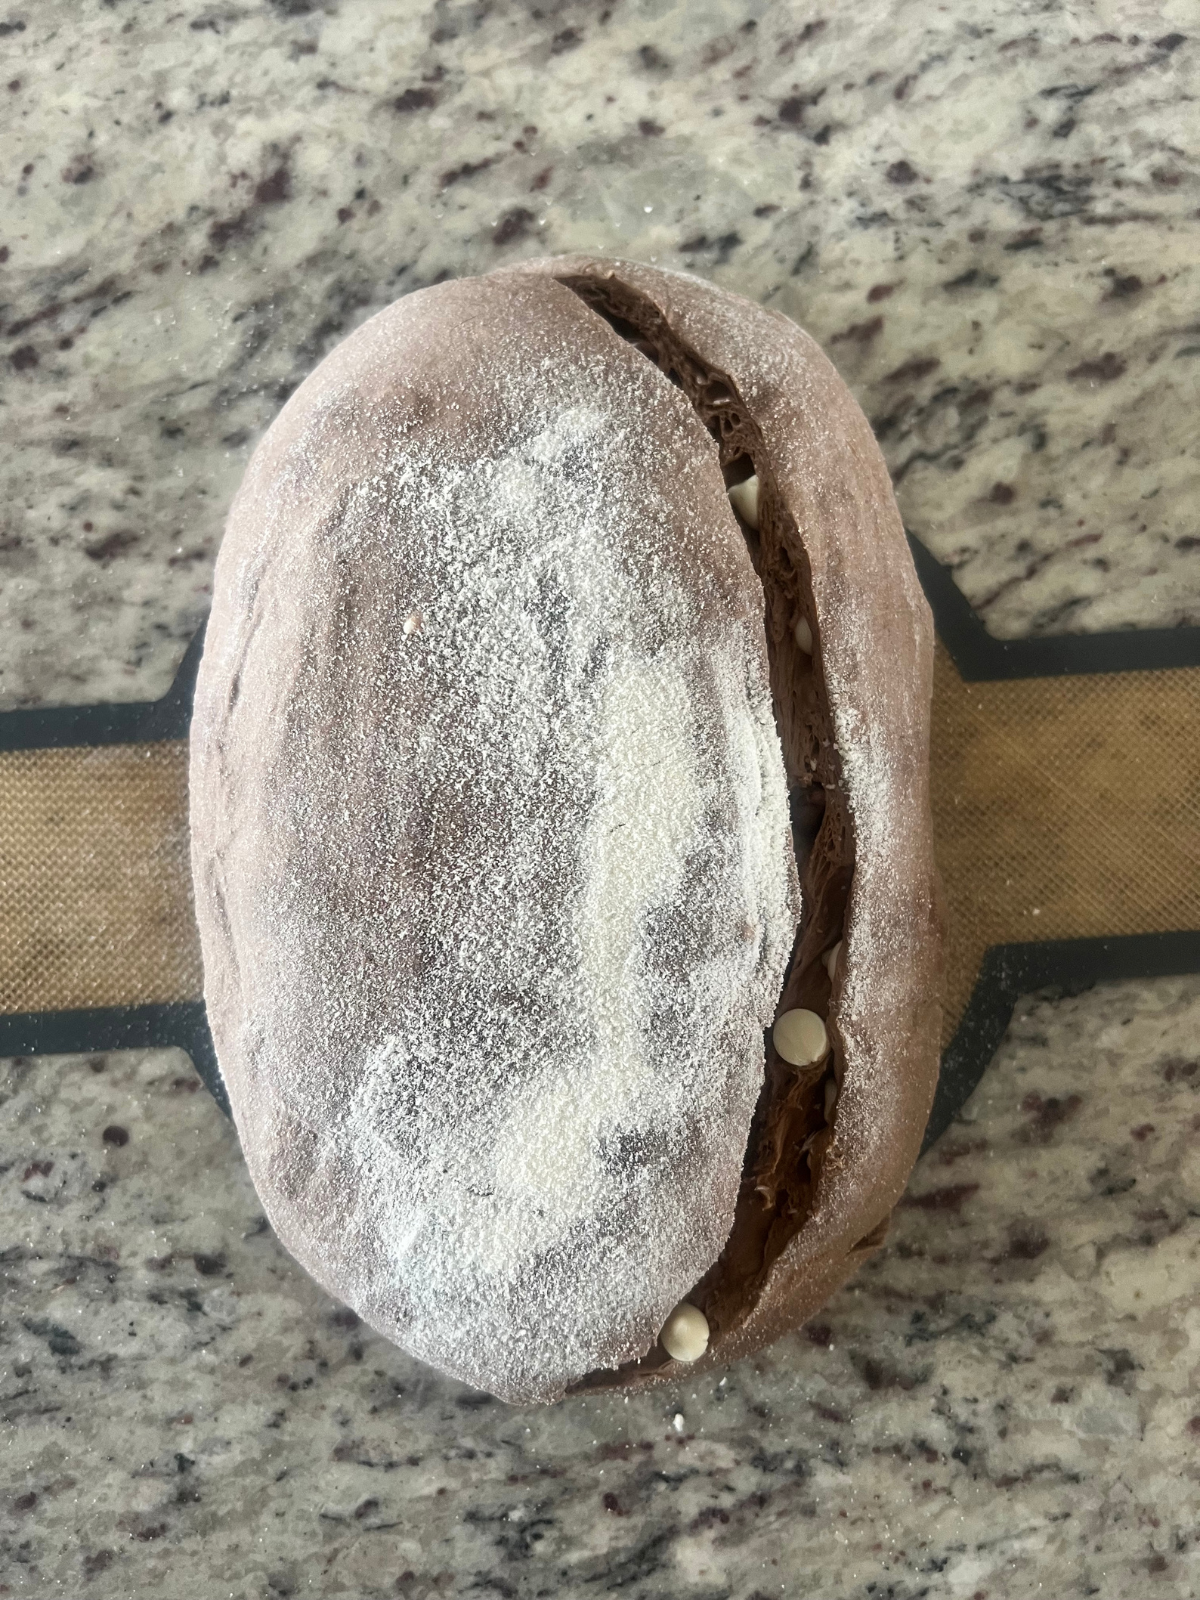
Score the dough: Turn the dough onto parchment paper and score the top with a sharp blade.
Bake covered: Transfer to the Dutch oven, cover, and bake for 30 minutes.
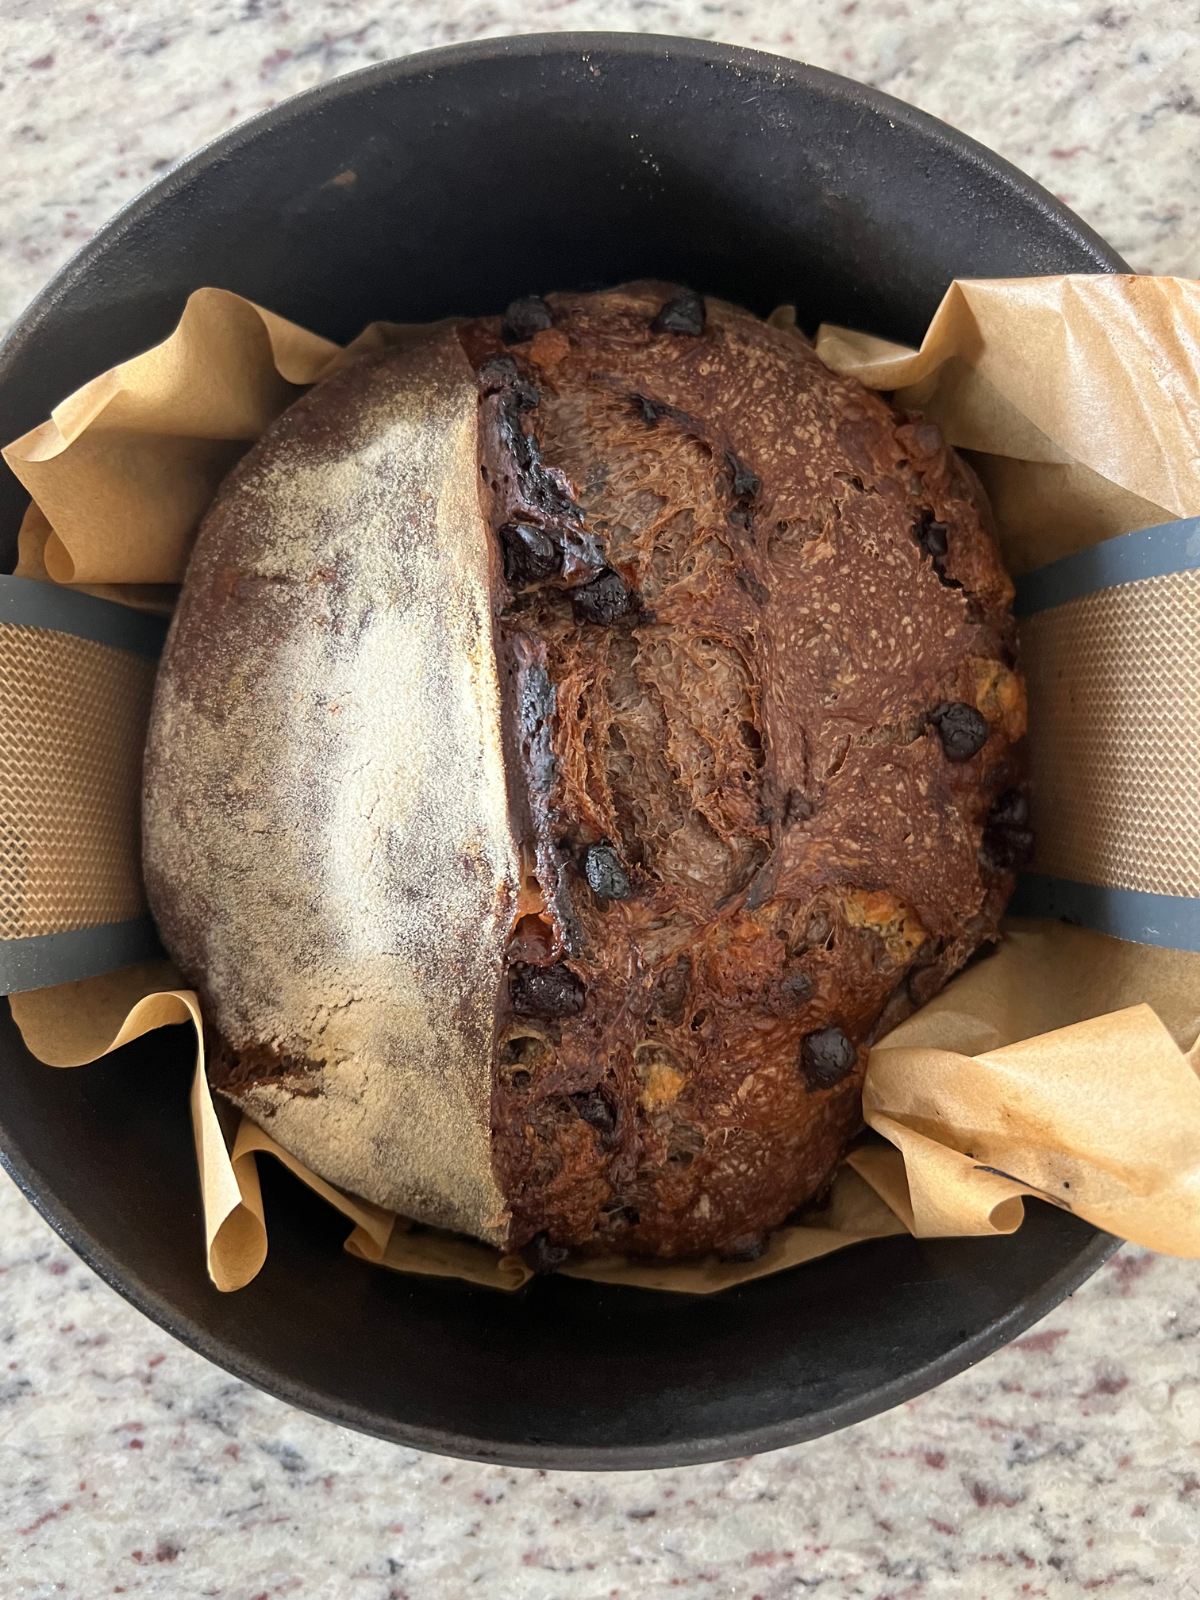
Bake uncovered: Remove the lid and bake for an additional 15–20 minutes, until the crust is deeply browned.
Check doneness: The loaf is ready when the internal temperature reaches about 205°F (96°C).
Cool before slicing: Allow the bread to cool completely on a rack before slicing to ensure the crumb is fully set.
Helpful Tips for the Best Sourdough Chocolate Coffee Bread
- Use an active, bubbly starter
- Your starter should be at peak activity (doubled, airy, and slightly domed) before mixing.
- A weak starter will lead to a dense loaf.
- Cool the coffee completely
- Hot or even warm coffee can weaken or kill the yeast in your starter.
- Room temperature is ideal.
- Adjust hydration if needed
- Cocoa powder absorbs more liquid than flour.
- If your dough feels stiff or dry, add 10–20 g (1–2 tbsp) water during mixing.
- Don’t skip the stretch and folds
- This step builds strength without kneading.
- Proper gluten development = better rise and open crumb.
- Watch the dough, not the clock
- Bulk fermentation times can vary based on temperature.
- Look for that 50–75% rise, bubbles, and a slightly jiggly texture.
- Be gentle when shaping
- Chocolate chips can tear the dough if handled roughly.
- Light pressure helps maintain structure and keeps inclusions inside.
- Use rice flour in your banneton It prevents sticking much better than regular flour, especially with this slightly sticky dough.
- Cold ferment for flavor The longer end of the 8–24 hour range will deepen the chocolate and coffee flavor.
- Preheat your Dutch oven thoroughly A fully heated Dutch oven gives better oven spring and crust development.
- Let it cool completely before slicing
Equipment Used
- Large mixing bowl
- Dough whisk (or sturdy spoon)
- Kitchen scale (for accurate measurements)
- Measuring cups and spoons
- Bench scraper (helpful for shaping)
- Proofing basket (banneton)
- Clean kitchen towel or plastic wrap (for covering)
- Parchment paper or bread sling (or both!)
- Sharp blade or bread lame (for scoring)
- Dutch oven with lid Oven
- Cooling rack
- Instant-read thermometer (optional, for checking doneness)
Storage
- Room Temperature (Best for 2–3 days):
- Allow the bread to cool completely before storing.
- Store in a paper bag, bread box, or loosely wrapped in a clean kitchen towel.
- For slightly longer freshness, place in a plastic bag or airtight container after the first day to prevent excessive drying.
- Refrigeration (Not recommended):
- Avoid storing in the fridge, as it will dry out the crumb and make the bread stale more quickly.
- Freezing (Best for long-term storage):
- Slice the bread once fully cooled.
- Place slices or the whole loaf in a freezer-safe bag or wrap tightly in plastic wrap and foil.
- Freeze for up to 2–3 months.
- To Reheat:
- From room temp: toast slices or warm in a 350°F (175°C) oven for 5–10 minutes.
- From frozen: toast directly or thaw at room temperature before warming.
- Tip:
- Because of the chocolate and cocoa, this bread stays softer slightly longer than traditional sourdough, but sealing it too tightly too soon can soften the crust.
Coffee & Chocolate Sourdough Bread
Ingredients
- 125 g active sourdough starter ½ cup
- 140 g brewed coffee cooled (⅔ cup)
- 200 g water ¾ cup + 1 tbsp
- 10 g maple syrup 2 teaspoons
- 450 g bread flour 3 ¾ cups
- 25 g cocoa powder ¼ cup
- 10 g salt 1 ½ teaspoons
- 85-90 g semi-sweet chocolate chips ½ cup
- 85-90 g white chocolate chips ½ cup
Instructions
Mix the Dough (Autolyse Phase)
- In a large bowl, combine: sourdough starter, brewed coffee (make sure it is cooled completely), water, maple syrup. Whisk until the starter is mostly dissolved.
- Next, add bread flour and cocoa powder,
- Mix using a dough whisk until no dry flour remains. The dough will be shaggy and sticky.
- Cover and let rest for 30 minutes.
- Why this matters: This rest (autolyse) hydrates the flour and begins gluten development, improving texture and structure.
Add Salt & Begin Stretch and Folds
- After 30 minutes, sprinkle the salt over the dough.
- Gently incorporate into the dough by pressing down with your fingers and folding the dough over itself.
Stretch and Fold Process (3–4 sets total)
- Perform a set about every 30 minutes:
- With wet hands, grab one side of the dough.
- Stretch it upward without tearing.
- Fold it over to the opposite side.
- Rotate the bowl ¼ turn and repeat.
- Do this 4 times per set (one full rotation).
- What you’ll notice over time:
- Dough becomes smoother and more elastic
- Less sticky and easier to handle
- Holds its shape better after each set
Bulk Fermentation (4–6 Hours)
- Once your 3-4 sets of stretch and folds are complete, cover the dough, and let it rest at room temperature.
- Signs bulk fermentation is complete:
- Dough has increased in size by about 50–75%
- Surface looks slightly domed and airy
- Small bubbles are visible throughout and along the edges
- Dough jiggles slightly when the bowl is shaken
- It feels light and aerated, not dense
- Avoid over-proofing—the dough should still have structure and not feel overly slack.
Shaping the Dough
- Turn the dough out onto a lightly floured surface (use rice flour).
- Gently stretch it into a large rectangle.
Add Chocolate Chips and Fold:
- Sprinkle just over half of the chocolate chips evenly across the dough.
- Fold one side of the dough toward the center.
- Fold the opposite side over (like a letter).
- Add the remaining chocolate chips on top.
Final Shape:
- Roll the dough into a loaf.
- Pinch seams along the sides and bottom to seal.
Build Surface Tension:
- Using your hands, gently push and pull the dough toward you on the counter.
- Rotate and repeat until the surface is slightly taut.
- Important: Be gentle—pressing too hard can cause chocolate chips to tear through the dough.
Cold Fermentation
- Transfer the dough seam-side up into a rice flour-dusted banneton.
- Cover and refrigerate for 8–24 hours.
- This slow fermentation enhances flavor and improves texture.
Bake
- Preheat your Dutch oven to 450°F (232°C) by placing it in the oven for 30-60 minutes before adding the loaf.
- After those 30-60 minutes, turn the dough out onto parchment paper (I use both parchment paper and a bread sling when baking with inclusions to prevent the underside getting too dark). Score the top with bread lame or sharp blade.
- Transfer into the hot Dutch oven and bake covered for 30 minutes. Then remove the lid and bake uncovered for another 15-20 minutes or until the internal temperature reaches 205°F (96°C).
Cool
- Remove from Dutch oven and let cool completely before slicing.
Notes
- Room Temperature (Best for 2–3 days):
- Allow the bread to cool completely before storing.
- Store in a paper bag, bread box, or loosely wrapped in a clean kitchen towel.
- For slightly longer freshness, place in a plastic bag or airtight container after the first day to prevent excessive drying.
- Refrigeration (Not recommended):
- Avoid storing in the fridge, as it will dry out the crumb and make the bread stale more quickly.
- Freezing (Best for long-term storage):
- Slice the bread once fully cooled.
- Place slices or the whole loaf in a freezer-safe bag or wrap tightly in plastic wrap and foil.
- Freeze for up to 2–3 months.
- To Reheat:
- From room temp: toast slices or warm in a 350°F (175°C) oven for 5–10 minutes.
- From frozen: toast directly or thaw at room temperature before warming.
- Tip:
- Because of the chocolate and cocoa, this bread stays softer slightly longer than traditional sourdough, but sealing it too tightly too soon can soften the crust.


Beautiful loaf, lovely rich chocolate flavour.
So glad you enjoyed the flavor! Thanks, Nick!
This came out perfect!! Better than the $15-$20 ones I’ve had from the fancy supermarkets!
Oh, I’m so glad to hear this!!
Really dumb question, should I pull the bread out of the fridge for the 30-60 minutes while the oven heats, or leave it in until just before I am ready to score, drop and bake?
Not a dumb question at all! Keep it in the fridge until just before you’re ready to score and bake. 🙂
I followed the recipe exactly, and it was perfect! This was my 5th loaf. This one was so easy to handle! Mine looks just like the pictures. Thank you!
Oh, yay, Heather!! I’m so glad to hear it turned out just like the pictures!! Thanks for the review. 🙂
Absolutely delicious! Coffee flavor not too strong and the perfect amount of sweetness. My co-workers and friends love it. Have been baking this loaf on repeat.
Oh, I’m so glad everyone is enjoying it, Susan! Thank you for the review!