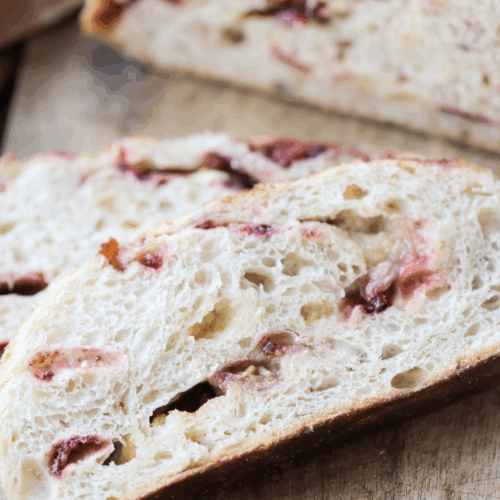
Sourdough Strawberry White Chocolate Bread
As an Amazon Associate, I earn from qualifying purchases.
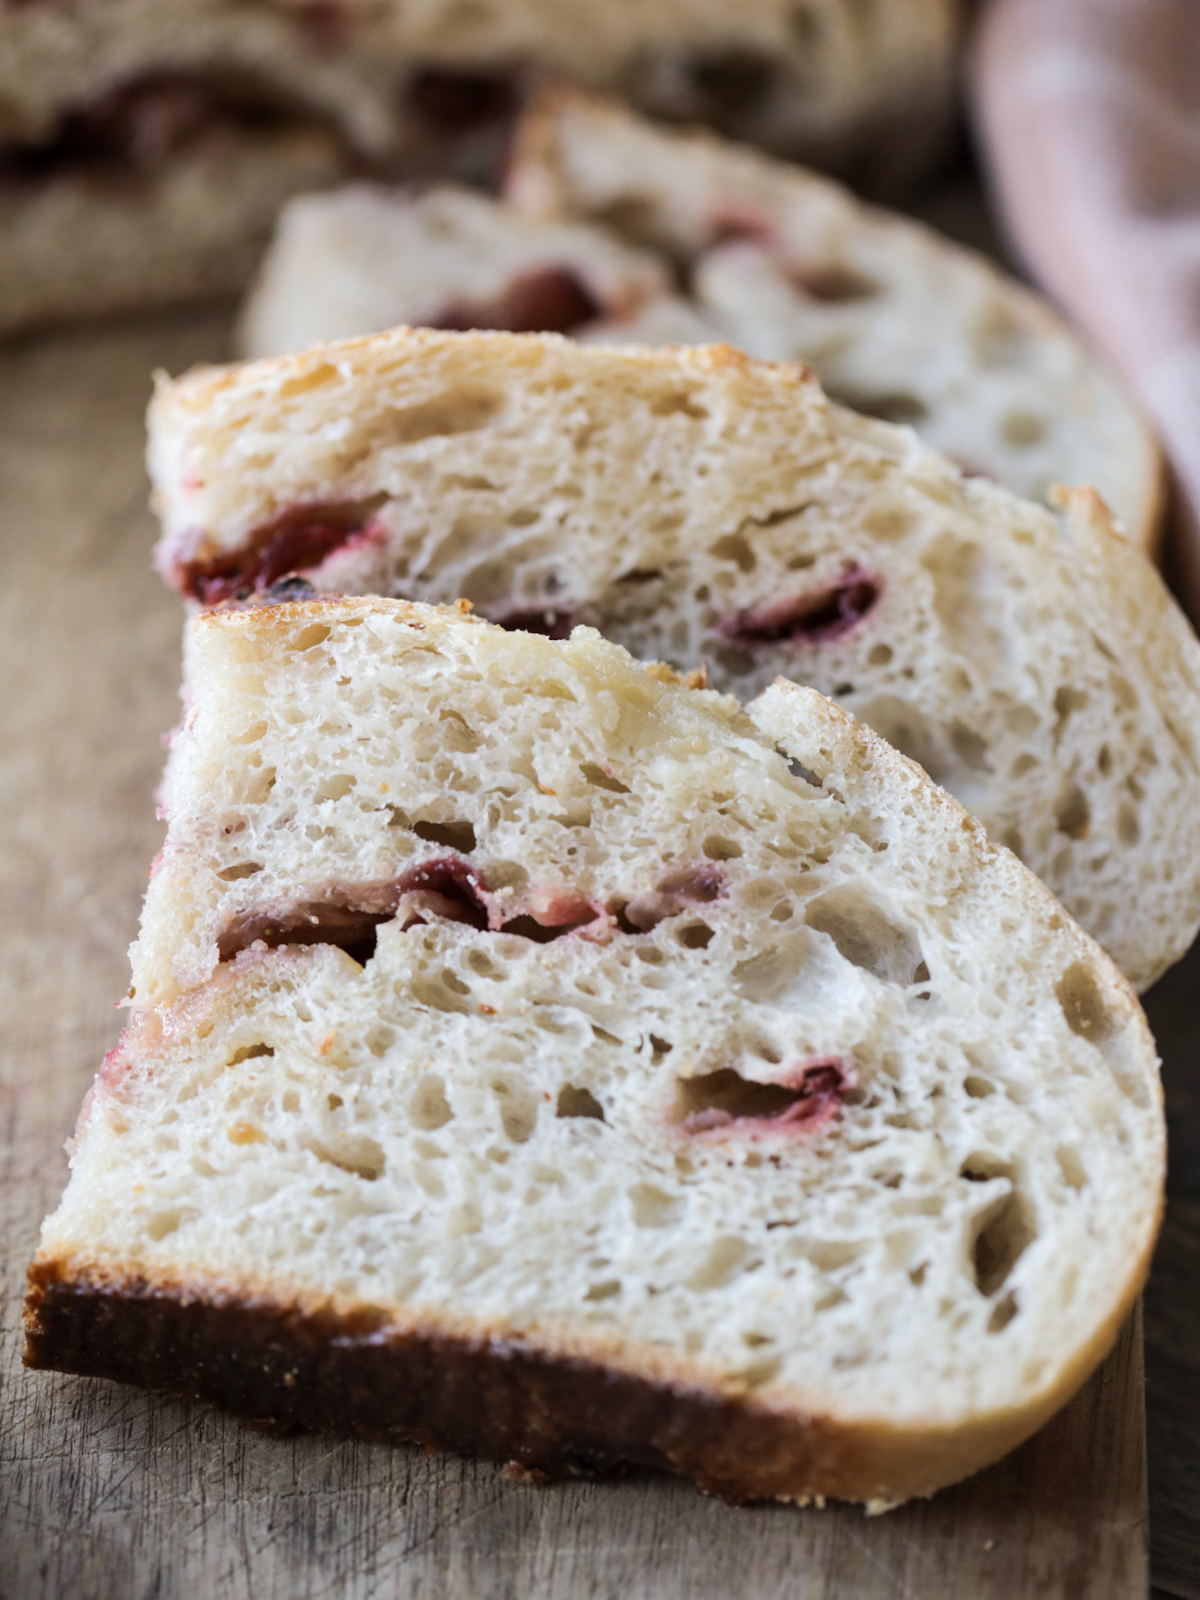
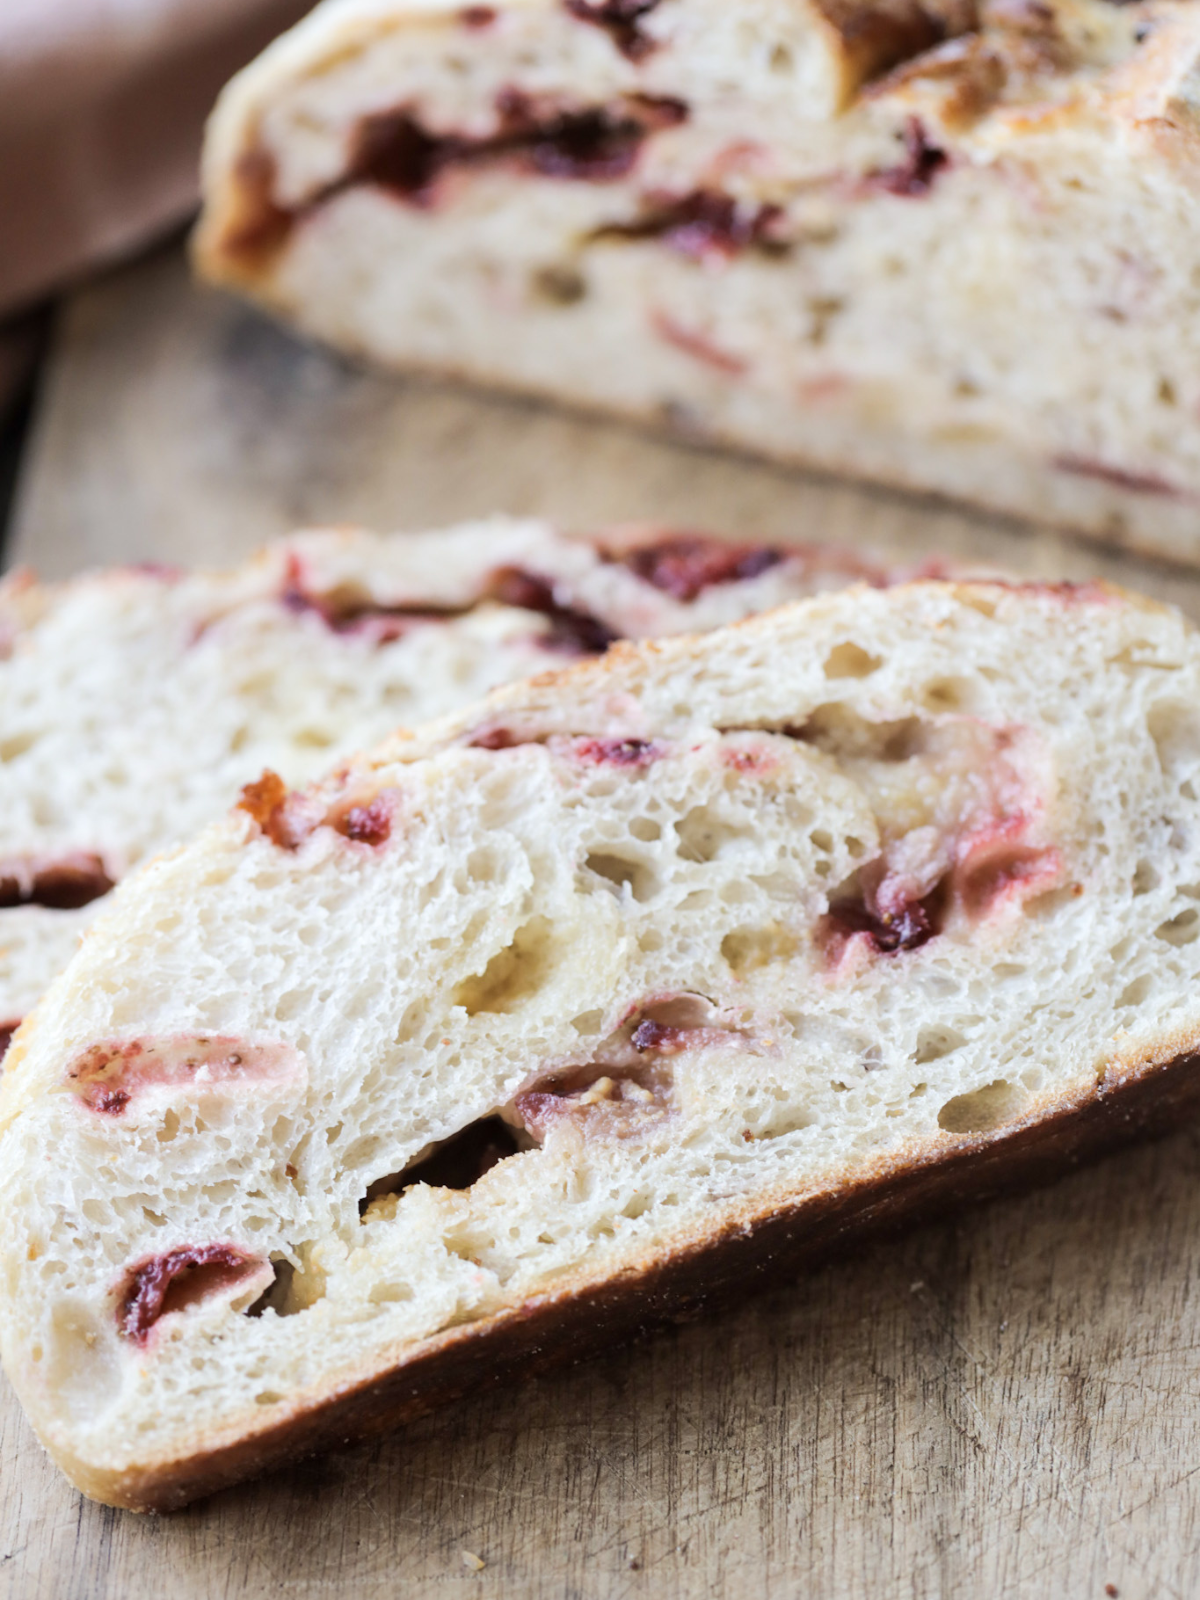
This perfectly sweet sourdough strawberry white chocolate bread uses freeze-dried strawberries and chopped white chocolate for a decadent and fun sourdough loaf!

This was such a fun bread to bake! I love adding fruit to sourdough bread, but I always worry about figuring out the hydration levels since fruit carries so much water.
However, using freeze-dried fruit is an absolute game-changer because most of its moisture has been removed. All that to say, you’ve gotta use freeze-dried strawberries for this recipe.
Fresh or frozen strawberries will result in a completely different texture of bread, so I advise you not to use them.
However, if you’ve got white chocolate chips instead of chopped white chocolate, that would work great as a substitute.
Step-By-Step Instructions

Combine the Starter and Water
In a large mixing bowl, add the active sourdough starter and warm water. Stir together until the starter is mostly dissolved and the mixture looks milky.
Add the bread flour and salt. Mix with a dough whisk or your hands until no dry flour remains and a shaggy dough forms.
Cover the bowl and let the dough rest for 30–45 minutes to allow the flour to fully hydrate.
Strengthen the Dough
Perform 3–4 sets of stretch and folds, spacing them about 20–30 minutes apart.
To do this:
- Gently lift one side of the dough.
- Stretch it upward.
- Fold it over the center.
- Rotate the bowl and repeat on all four sides.
You’ll notice the dough becoming smoother and more elastic with each set.
Let the Dough Rise (Bulk Fermentation)
After the final stretch and fold, cover the bowl and allow the dough to ferment at room temperature.
Let it rise until it has increased by about 50–75% in size. The surface should look slightly domed, and you should see bubbles forming along the sides of the bowl. This usually takes 4–6 hours, depending on your kitchen temperature.
Laminate and Add the Inclusions
Lightly mist your countertop with water (or lightly flour if preferred). Gently turn the dough out onto the surface.
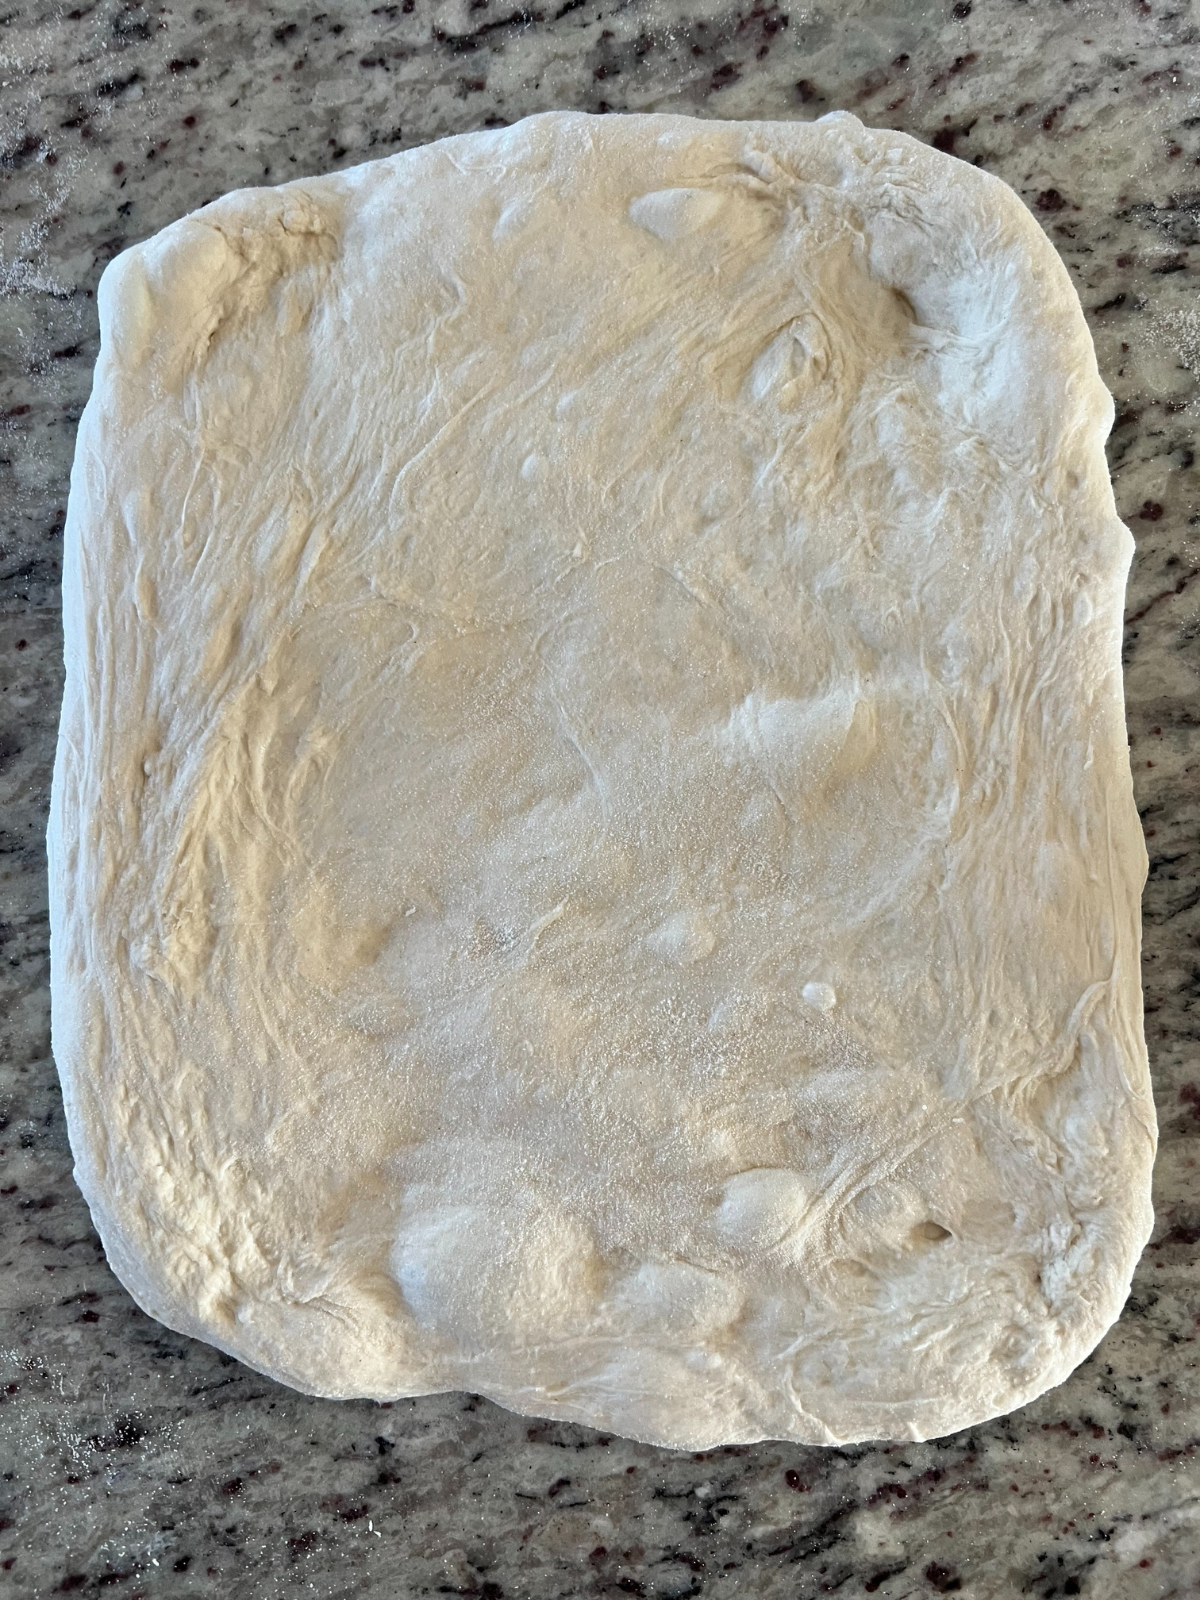
Carefully stretch the dough into a thin rectangle, being mindful not to tear it.
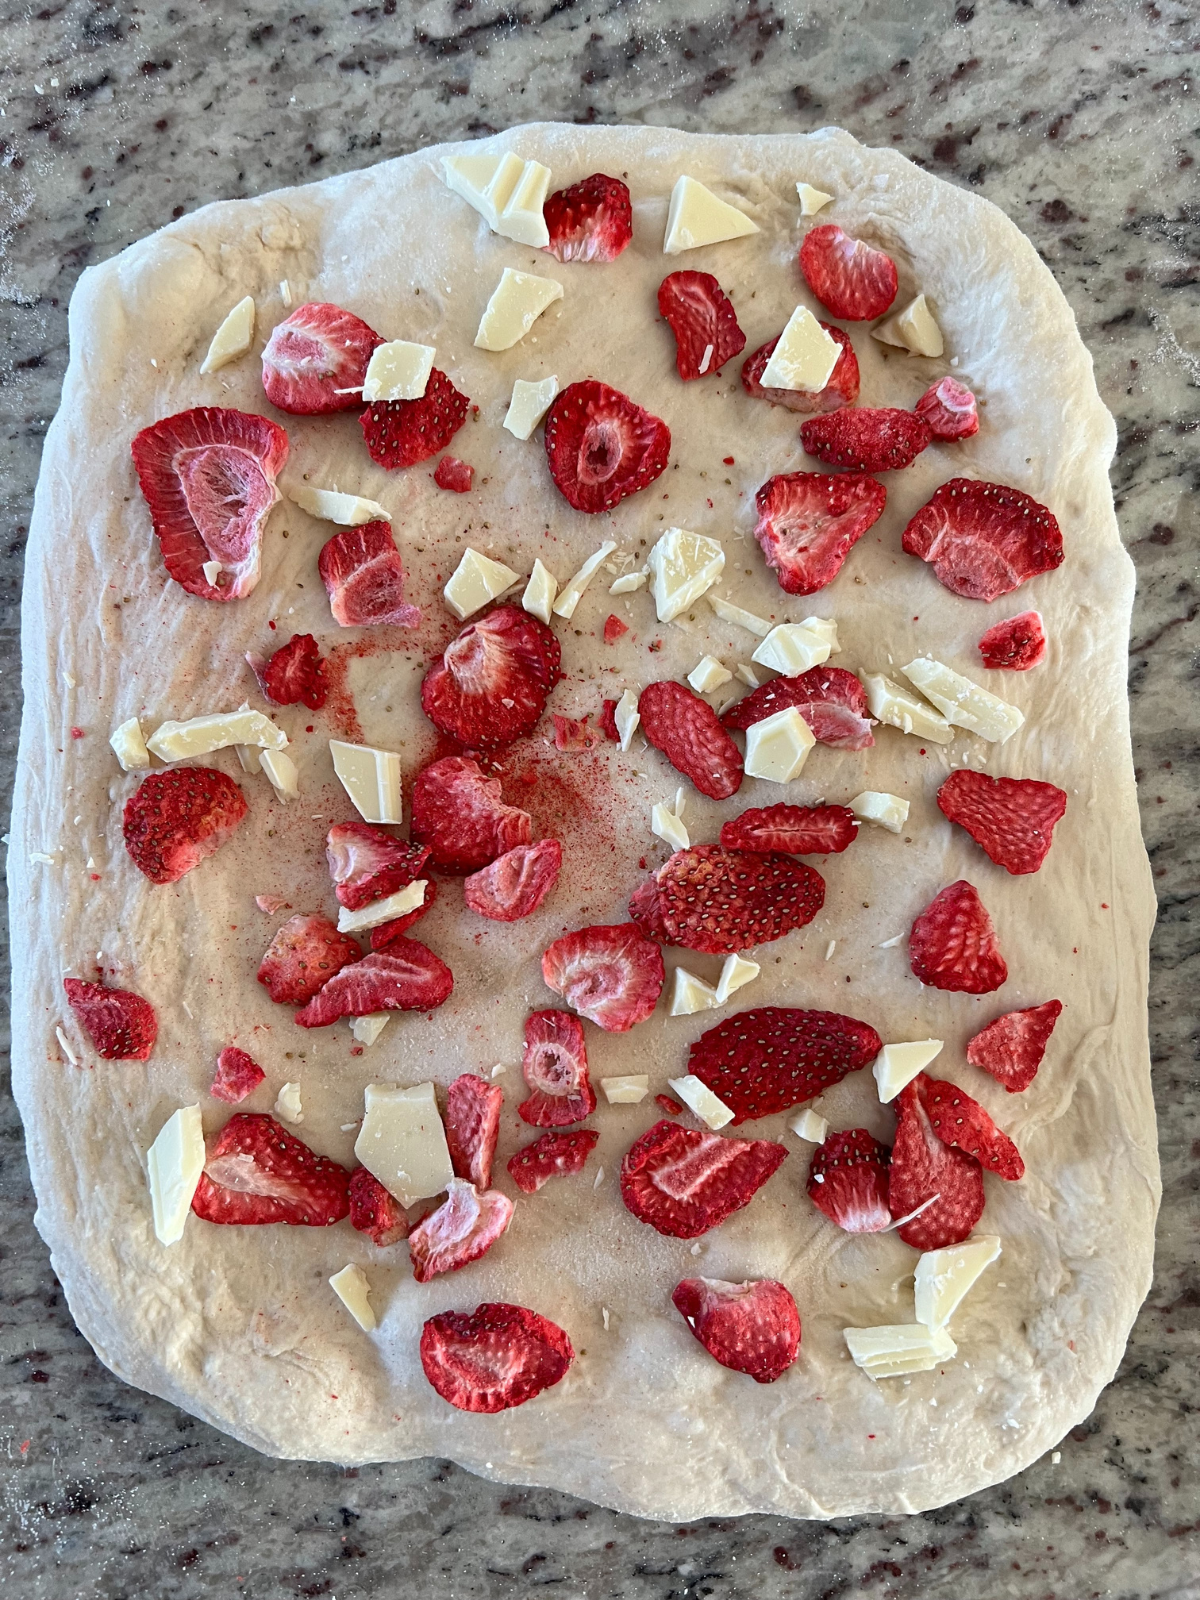
Evenly scatter half the crushed freeze-dried strawberries and chopped white chocolate across the surface, saving half to scatter as you fold the dough.

Fold the dough a third of the way over itself lengthwise and add a quarter of the inclusions.
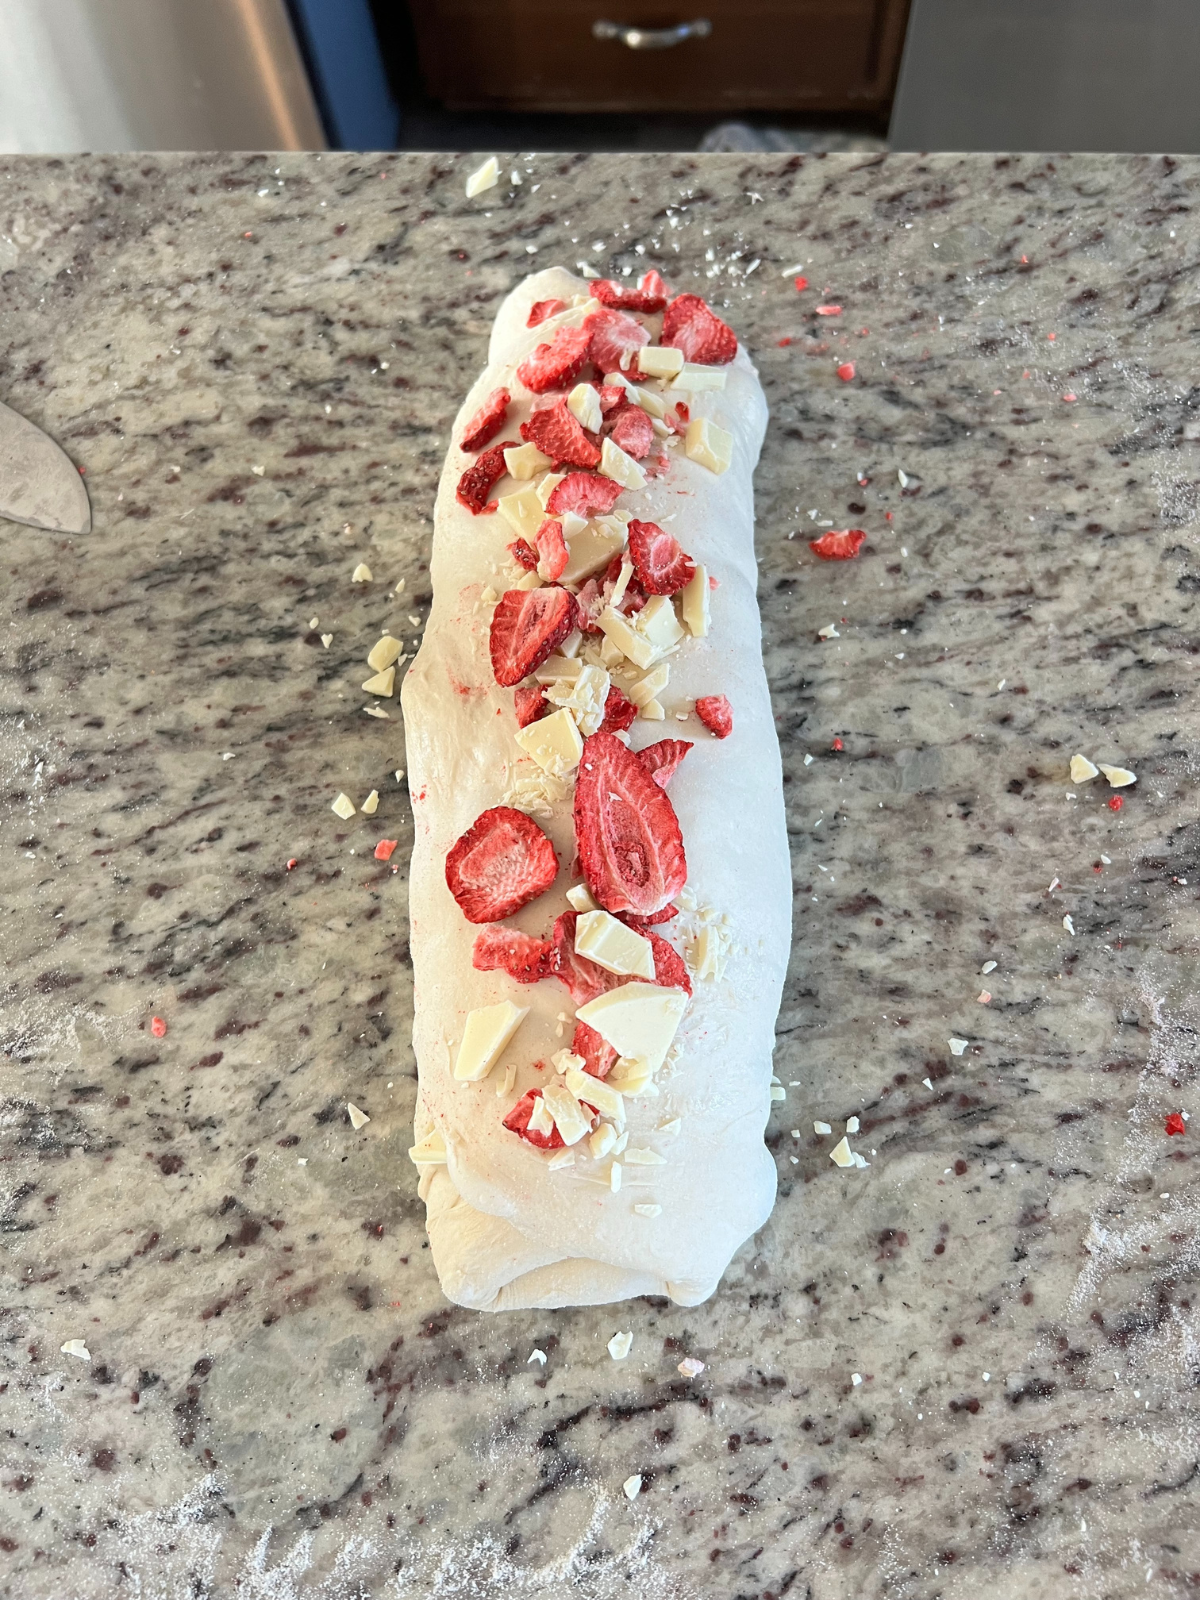
Fold the other side over the loaf and add the remaining inclusions.
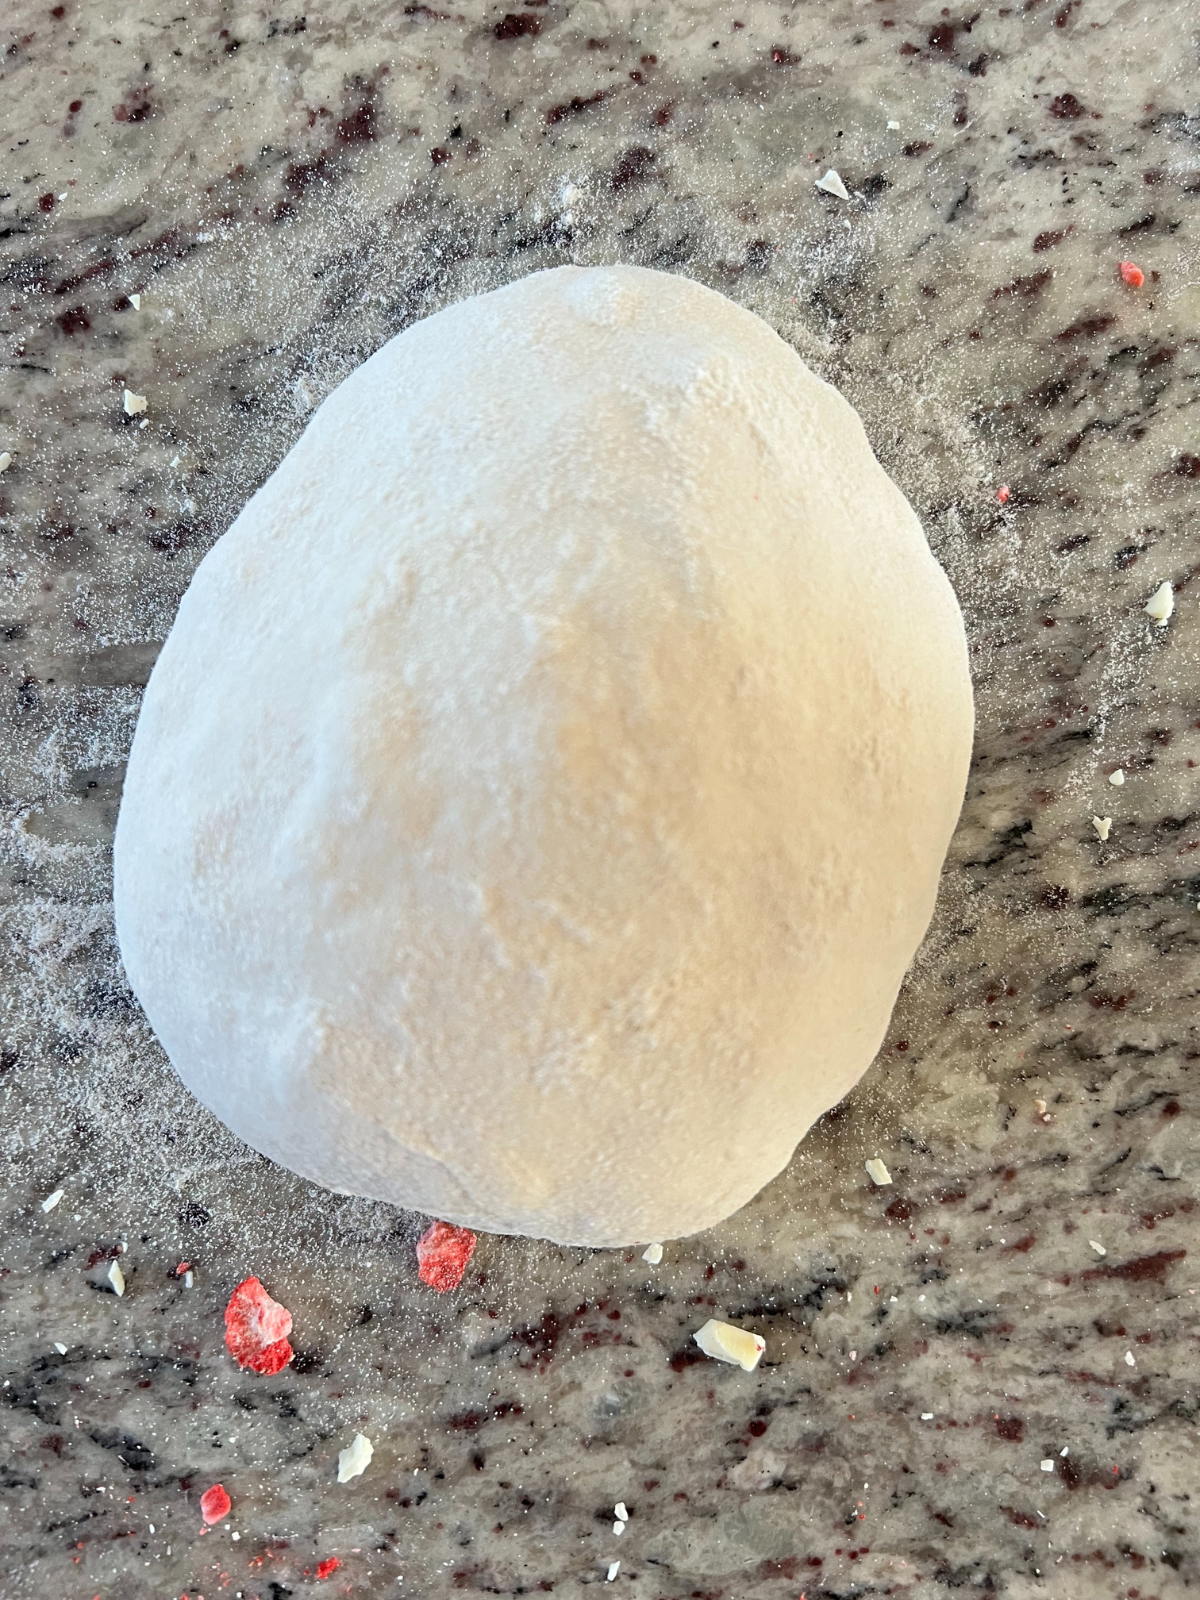
Shape the Loaf
Using your hands or a bench scraper, gently tighten the dough into a smooth boule by pulling it toward you on the counter to build surface tension.
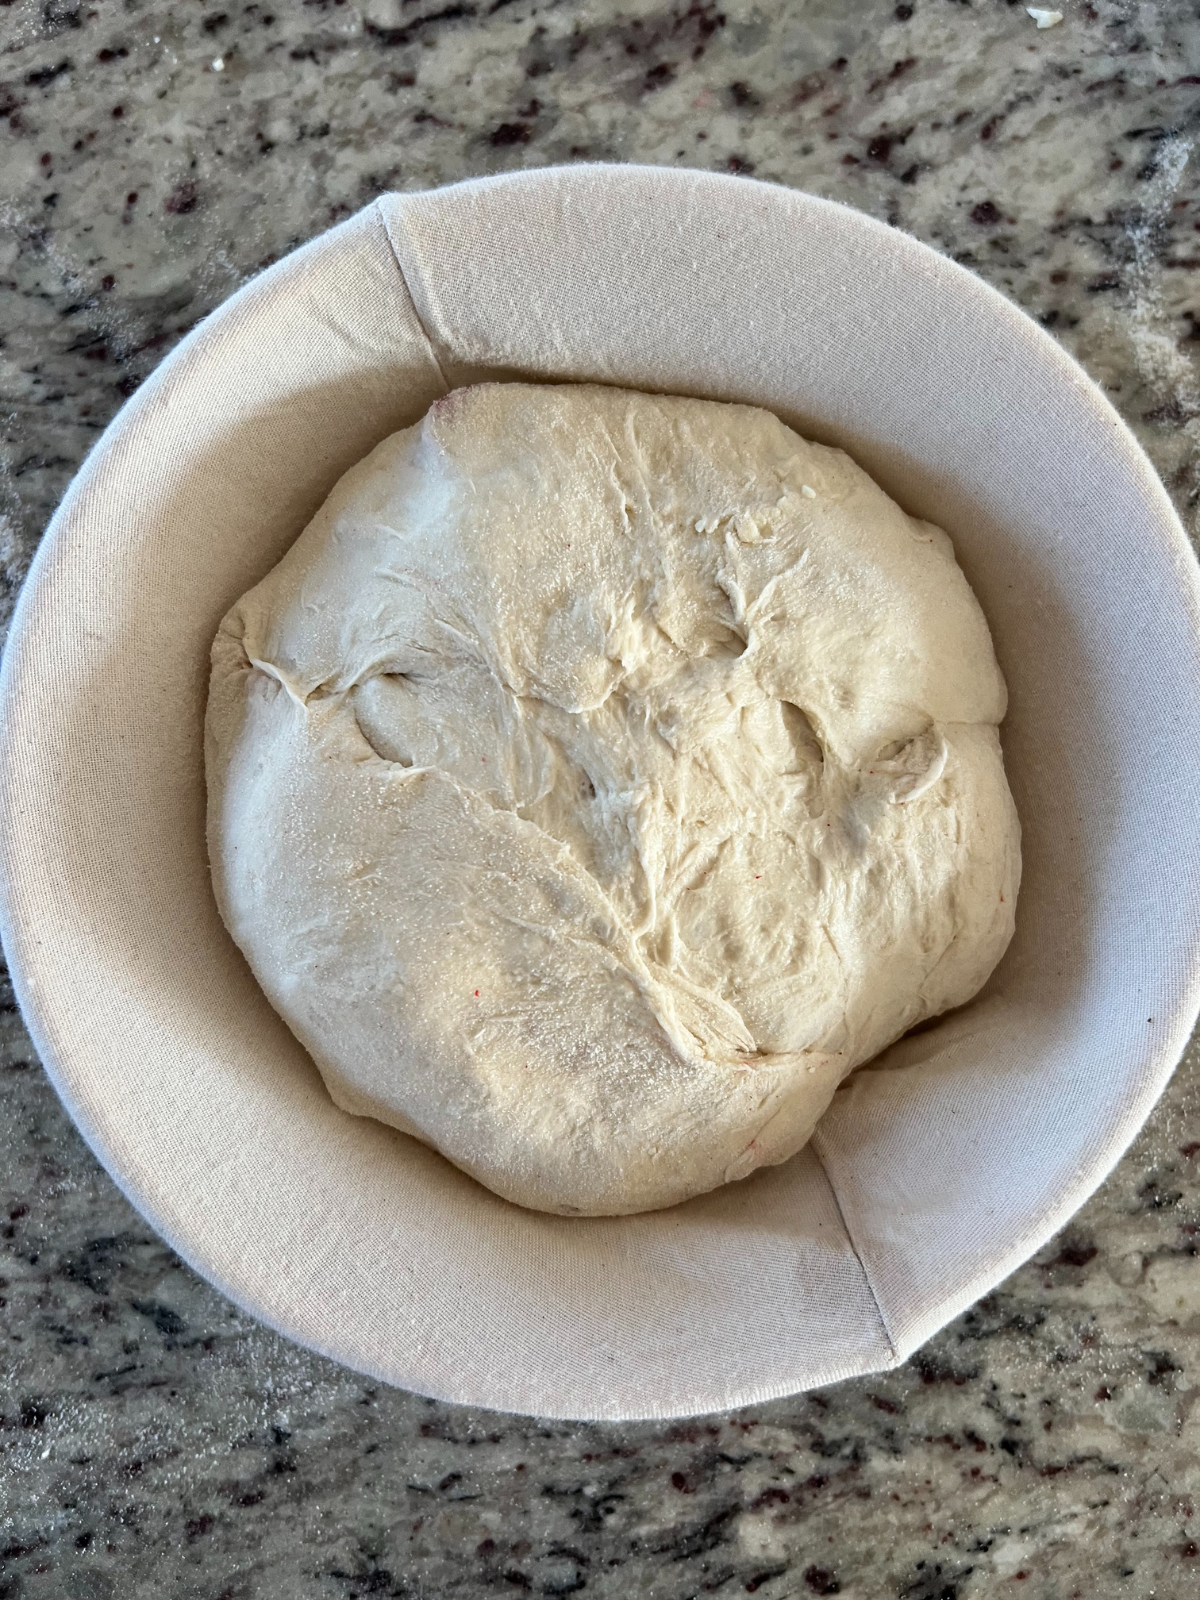
Transfer the dough seam-side up into a floured banneton or a bowl lined with a well-floured tea towel.
Cover and refrigerate for 8–12 hours.

Preheat the Dutch Oven
Place your Dutch oven (with the lid on) into the oven and preheat to 450°F for at least 30 minutes.
Score and Bake
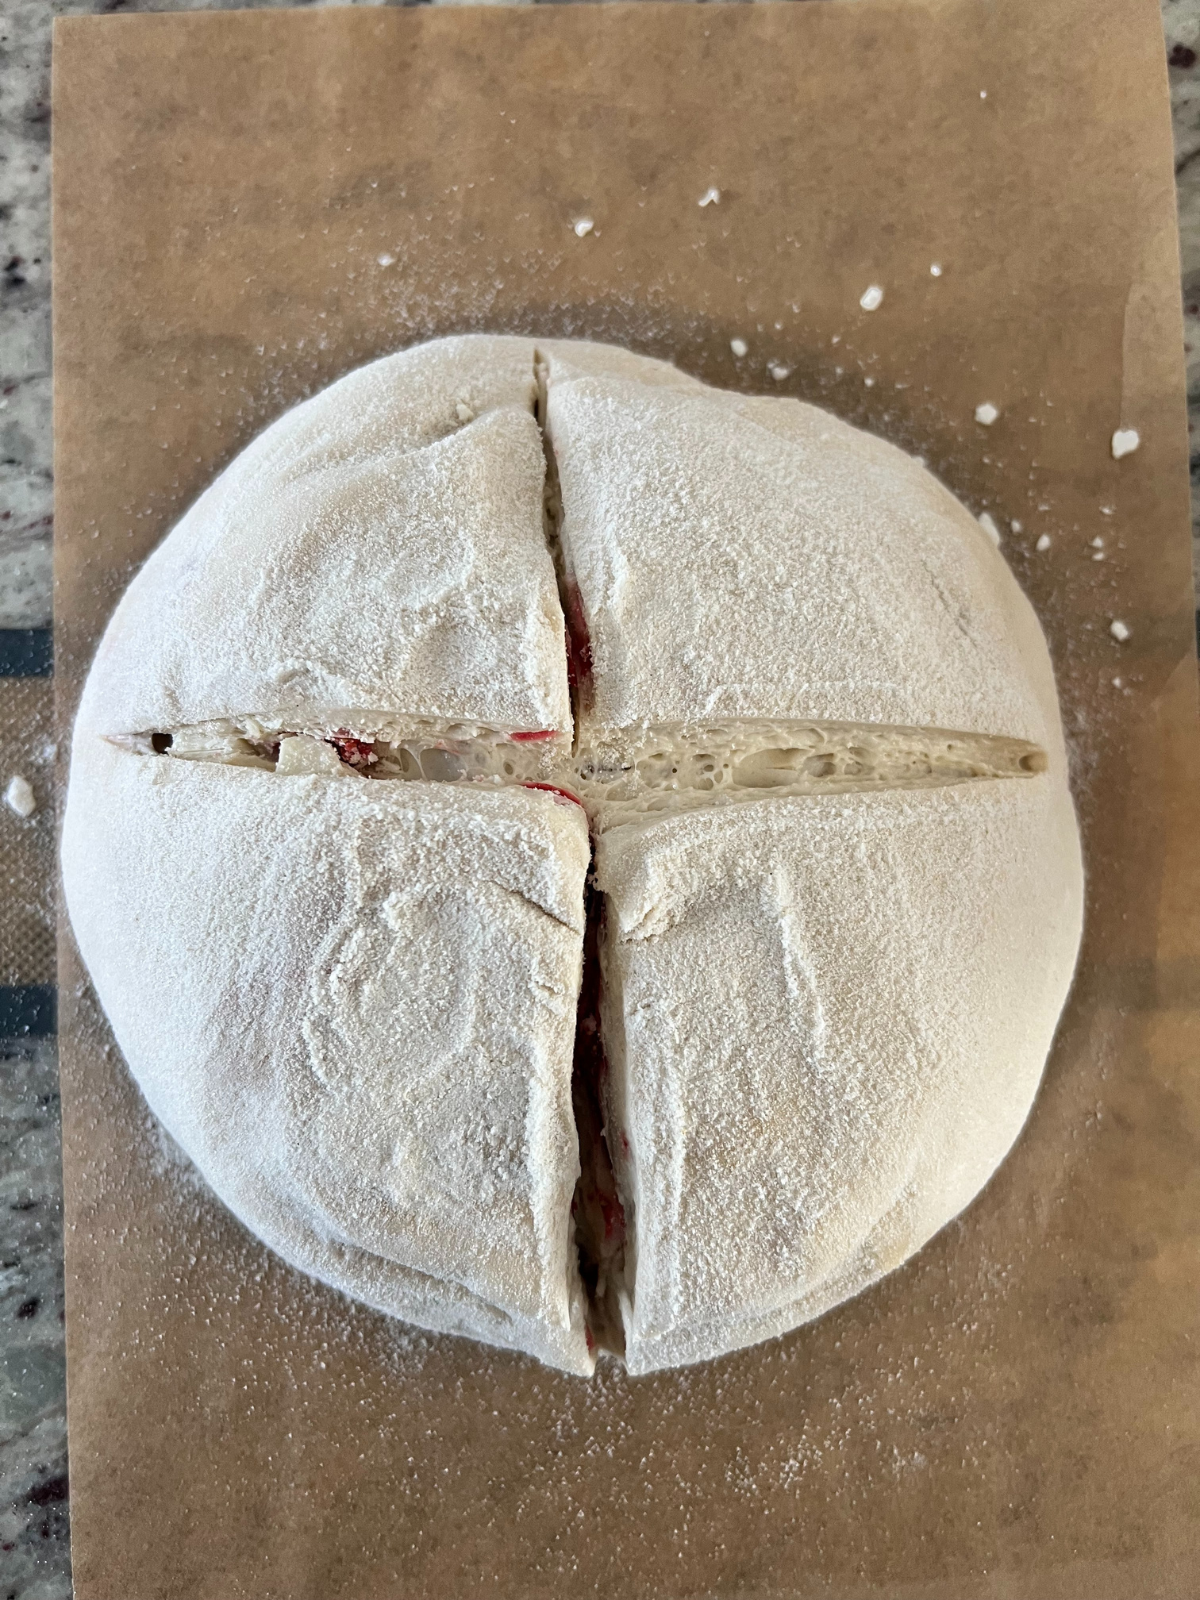
Turn the cold dough out onto a sheet of parchment paper. Use a bread lame or sharp knife to score the top.
Carefully lower the dough into the hot Dutch oven.
Bake covered for 25 minutes at 450°F.
Remove the lid and bake for an additional 20 minutes, until the crust is deep golden brown.
The internal temperature should read 205°F when fully baked.
Cool Before Slicing
Transfer the loaf to a wire rack and allow it to cool for at least 1–2 hours before slicing. This ensures the crumb finishes setting and prevents gumminess.
Helpful Tips for the BEST Sourdough White Chocolate Strawberry Bread
- 1. Use an active, bubbly starter
Your starter should be at peak rise when you mix the dough. A strong starter gives you better oven spring and a lighter crumb. - 2. Don’t skip the rest after mixing
That 30–45 minute rest (autolyse) makes the dough easier to handle and improves gluten development without extra stretching and folding. - 3. Watch the dough — not the clock
Bulk fermentation time will vary depending on your kitchen temperature. Look for a 50–75% rise, a slightly domed surface, and visible bubbles along the sides of the bowl. - 4. Laminate gently
When stretching the dough for lamination, go slowly. If it resists, let it rest for 5–10 minutes before stretching further. Tearing weakens structure. - 5. Keep inclusions away from the edges
Leave a small border around the dough when adding strawberries and white chocolate. This helps prevent them from leaking out during shaping. - 6. Why lamination matters
White chocolate can scorch if exposed on the outside of the loaf. Laminating after bulk helps fully enclose the inclusions, protecting them during the high-heat bake. - 7. Cold proof for better flavor and scoring
An overnight cold proof improves flavor and makes the dough easier to score cleanly. - 8. Preheat your Dutch oven fully
Give it at least 30 minutes in the oven. A properly preheated Dutch oven creates strong oven spring and a crisp crust. - 9. Check internal temperature
The loaf should reach 205°F internally. This ensures the crumb is fully baked and not gummy. - 10. Let it cool completely
As tempting as it is, slicing too soon can create a gummy texture. Let it cool at least 1–2 hours before cutting.
Storage
Room Temperature (Best for 2–3 Days)
- Allow the bread to cool completely before storing.
- Store cut-side down on a cutting board or wrapped loosely in a tea towel.
- You can also place it in a bread bag or a paper bag.
Avoid sealing tightly in plastic at room temperature, as this can soften the crust.
This loaf is best enjoyed the same day or within 2–3 days.
Freezing (Best for Longer Storage)
For longer storage:
- Slice the loaf completely once cooled.
- Place slices in a freezer-safe bag or airtight container.
- Freeze for up to 2 months.
To reheat:
- Toast slices directly from frozen
OR - Warm in a 300°F oven for 5–10 minutes until heated through.
Freezing preserves both the crumb and the flavor beautifully.
Looking for more fun sourdough loaves? Check these out!
- lemon blueberry sourdough bread
- carrot cake sourdough bread
- jalapeno cheddar sourdough bread
- funfetti sourdough bread
- sourdough bacon and smoked gouda bread
Sourdough Strawberry White Chocolate Bread
Ingredients
- 125 g active sourdough starter ½ cup
- 325 g warm water 1⅓ cups
- 450 g bread flour 3¾ cups
- 10 g salt 1½ teaspoons
- 36 g freeze-dried strawberries lightly crushed (1 1/4 cups)
- 113.5 g white chocolate, chopped 4 oz white chocolate bar
- rice flour for dusting
Instructions
Step 1: Mix the Dough
- In a large mixing bowl, combine the active sourdough starter and warm water. Stir until mostly dissolved.
- Add the bread flour and salt. Mix until a shaggy dough forms and no dry flour remains. Cover and let rest for 30–45 minutes (optional, but helpful for gluten development).
Step 2: Stretch and Folds
- Perform 3–4 sets of stretch and folds spaced out about 30 minutes apart.
To stretch and fold:
- Gently pull one side of the dough upward.
- Fold it over itself.
- Rotate the bowl and repeat on all four sides.
- Cover between each set.
Step 3: Bulk Fermentation
- After completing stretch and folds, cover the dough and allow it to bulk ferment at room temperature until it has risen about 50–75%. This typically takes 4–6 hours, depending on the temperature of your kitchen.
- The dough should look airy, slightly domed, and show bubbles along the sides.
Step 4: Lamination & Add Inclusions
- Lightly mist your countertop with water (or very lightly flour with rice flour if preferred). Gently turn the dough out onto the surface.
- Carefully stretch the dough out into a thin rectangle without tearing it.
- Evenly sprinkle most of the crushed freeze-dried strawberries and chopped white chocolate (inclusions) over the surface of the dough.
- Fold the dough length-wise halfway over the dough, sprinkle more inclusions, then fold the other side over and sprinkle the rest of the inclusions. Roll it into a ball, being careful to keep everything inside the dough ball.
Why laminate instead of adding during stretch and folds?
- White chocolate can melt and burn if exposed near the surface of the dough during baking. Laminating after bulk fermentation allows you to fully enclose the inclusions inside the dough, keeping more of the white chocolate protected and preventing scorching.
Step 5: Shape
- After laminating, gently shape the dough into a tight boule by creating surface tension.
- Cover and refrigerate for 8–12 hours for cold proofing.
Step 6: Preheat the Dutch Oven
- Place your Dutch oven (with lid) in the oven and preheat to 450°F for at least 30 minutes.
Step 7: Score and Bake
- Turn the dough out onto parchment paper (I recommend doubling up parchment and a bread sling or extra parchment paper if using a dark cast iron pan. Alternatively, you can place a baking sheet on the lowest rack). Score the top with a sharp blade or bread lame.
- Carefully transfer the dough into the hot Dutch oven.
Bake:
- Bake for 25 minutes with the lid on at 450°F
- Remove the lid and bake an additional 20 minutes uncovered**
- The loaf should be deep golden brown.
- The internal temperature should reach 205°F when fully baked.
Step 8: Cool
- Transfer to a wire rack and allow to cool for at least 1–2 hours before slicing to prevent a gummy crumb.


My family loved the pockets of white chocolate in this strawberry white chocolate sourdough loaf. Such a fun one to make if you’re looking to add fruit to your sourdough bread! Let me know what you think if you make it!